In this comprehensive guide, we will provide you with step-by-step instructions on how to successfully install a floating shelf. From choosing the appropriate size to securing the shelf to the bracket, we will cover every aspect of the installation process. With the right tools and materials, as well as careful planning and execution, you will be able to add a stylish and functional floating shelf to your living space in no time.
Choosing the Right Floating Shelf Size
When choosing the right floating shelf size, it is essential to consider the dimensions of the available wall space. The size of the shelf should be proportionate to the wall to create a visually pleasing and balanced look. Additionally, the shelf weight and material should also be taken into consideration. Heavier items will require a sturdier and larger shelf to ensure it can support the weight without sagging or breaking. It is important to check the weight capacity of the shelf to ensure it can safely hold the desired items. The material of the shelf can also affect its size, as certain materials may be more prone to bending or warping under heavy weight. Therefore, selecting the appropriate floating shelf size based on the available wall space, shelf weight, and material is crucial for a successful installation.
Gathering the Necessary Tools and Materials
Before beginning the installation process, it is important to gather all the necessary tools and materials. This includes essential tools such as a drill, level, measuring tape, and screwdriver, as well as the required materials for the floating shelf, such as the shelf itself, brackets, screws, and anchors. By ensuring you have everything you need before starting, you can streamline the installation process and avoid any unnecessary delays or interruptions.
Essential Tools for Installation
To ensure a smooth and efficient installation process, it is crucial to have the essential tools readily available and organized. When it comes to installing floating shelves, there are a few key tools that are necessary for a successful installation. The first tool you will need is a stud finder, which will help you locate the studs in the wall to ensure that the shelf is securely anchored. Additionally, a level will be essential to ensure that the shelf is straight and properly aligned. A drill with the appropriate drill bit is necessary for creating holes for the wall anchors or screws. Finally, a screwdriver or power drill will be needed to secure the shelf to the wall. By having these essential tools on hand and using them correctly, you can avoid common mistakes such as uneven shelves or shelves that are not securely attached to the wall.
Required Materials for Shelf
What are the necessary materials for installing a floating shelf? When it comes to installing a floating shelf, there are a few essential materials that you will need. Firstly, you will need to choose the right shelf size that fits your desired space. Measure the length and width of the area where you plan to install the shelf to ensure a proper fit. Secondly, you will need a shelf bracket, which is the key component that supports the shelf. Make sure to select a bracket that is sturdy and can handle the weight of the items you plan to place on the shelf. Additionally, you will need screws or anchors to secure the bracket to the wall. Finally, a level, drill, and screwdriver will be necessary for the installation process. By gathering these materials, you will be well-prepared to install your floating shelf efficiently and securely.
Gathering Everything You’ll Need
There are several essential tools and materials that you will need to gather in order to successfully install a floating shelf. One of the first steps in this process is choosing the right shelf design. There are various options available, including different shapes, sizes, and materials. Consider the style and functionality of the shelf to ensure it complements your space. Additionally, it is crucial to measure the weight capacity of the shelf. This will help you determine how much weight it can safely hold. Overloading the shelf can lead to damage and potential accidents. Take into account the items you plan to display or store on the shelf and choose a design that can adequately support their weight. By carefully selecting the right shelf design and measuring its weight capacity, you can ensure a successful installation process.
Locating and Marking the Installation Area
The proper way to begin the installation process of a floating shelf is by carefully locating and marking the installation area. Before proceeding with the installation, it is essential to find the stud in the wall. A stud is a vertical framing member that provides support for the shelf. To find the stud, you can use a stud finder or tap on the wall to listen for a solid sound indicating the presence of a stud. Once the stud is located, mark the holes for the shelf brackets using a pencil or a marker. It is important to accurately mark the holes to ensure that the shelf is properly aligned and secure. By taking the time to locate and mark the installation area correctly, you can ensure a successful and sturdy floating shelf installation.
Preparing the Wall for Mounting
Before mounting the floating shelf, it is crucial to thoroughly clean and smoothen the wall surface to ensure a secure and aesthetically pleasing installation. Wall preparation is an important step in the installation process. Start by removing any dust, dirt, or debris from the wall using a clean cloth or sponge. Next, inspect the wall for any cracks or imperfections and fill them with a suitable wall filler. Once the wall is clean and smooth, it is time to measure the installation area. This step is essential to ensure that the floating shelf is installed at the desired height and in the correct position. Use a measuring tape or a laser level to accurately measure the distance between the desired mounting points and mark them on the wall. Following these wall preparation and measuring techniques will result in a successful floating shelf installation.
Installing the Shelf Bracket
To install the shelf bracket, start by securing it to the wall using screws or anchors. Make sure to use a level to ensure proper alignment. Additionally, gather the necessary tools such as a drill, screwdriver, and measuring tape to complete the installation process efficiently and effectively.
Securing the Bracket
Properly fastening the bracket to the wall is essential for ensuring the stability of the floating shelf. When it comes to proper bracket installation, there are a few key steps to follow. Firstly, it is important to ensure that the bracket is securely attached to the wall studs or a sturdy anchor. This will provide the necessary support for the weight of the shelf and any items placed on it. Secondly, using the correct screws or bolts is crucial for maintaining the stability of the bracket. These should be of appropriate length and thickness to securely hold the bracket in place. Lastly, regularly inspecting the bracket and its fastenings is essential for identifying any signs of weakness or loosening. By following these guidelines, you can ensure the stability of your floating shelf and prevent any accidents or damage.
Proper Alignment Techniques
Using precise measurements and a level, aligning the shelf bracket vertically and horizontally is crucial for achieving a secure and aesthetically pleasing installation. Proper alignment techniques ensure that the shelf is stable and can hold the intended weight without any risk of collapse. Measuring accuracy plays a vital role in achieving this alignment. Begin by measuring the desired height and mark it on the wall. Use a level to ensure that the bracket is perfectly vertical. Next, measure the desired distance between brackets and mark it on the wall as well. Double-check the measurements to guarantee accuracy. Once the bracket positions are marked, it’s important to drill pilot holes for the screws. By employing these proper alignment techniques and paying attention to measuring accuracy, you can ensure a successful floating shelf installation.
Tools Needed for Installation
The selection of appropriate tools is essential for the successful installation of the shelf bracket, ensuring precise and secure placement. When installing a floating shelf, it is important to use measuring techniques to determine the exact location and dimensions for the bracket. This will help ensure that the shelf is level and properly aligned with the surrounding wall. Additionally, wall stud identification is crucial for a secure installation. By locating and marking the position of the wall studs, you can anchor the shelf bracket directly into the studs, providing maximum support and stability. Tools such as a tape measure, level, stud finder, drill, and screws are necessary for a successful floating shelf installation. By using these tools and techniques, you can ensure that your floating shelf is installed correctly and will safely hold your belongings.
Securing the Floating Shelf to the Bracket
Upon completing the assembly of the floating shelf, ensure that it is firmly fastened to the bracket without any gaps or looseness. Proper alignment techniques are crucial in achieving a secure installation. Begin by positioning the shelf on top of the bracket, making sure it is centered and level. Use a level to confirm its horizontal alignment and adjust as necessary. Once aligned, mark the screw holes on the wall using a pencil or marker. Pre-drill the holes to prevent any damage to the wall and then attach the bracket using screws. Finally, place the shelf onto the bracket and double-check its alignment before adding the finishing touches. By following these steps, you can ensure a sturdy and visually appealing installation of your floating shelf.
Adding the Finishing Touches
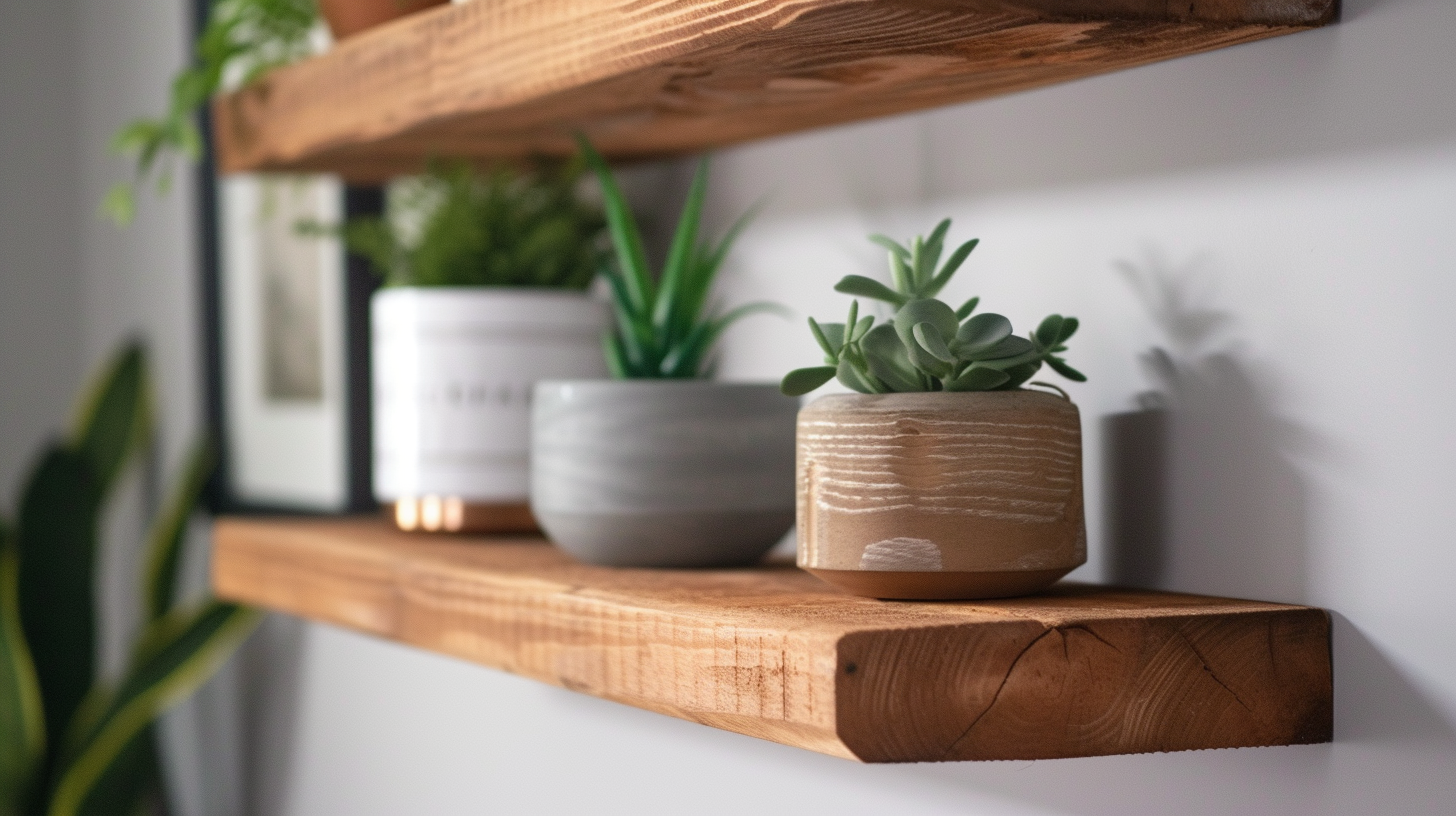
I will now proceed to add the finishing touches to the floating shelf to complete the installation process. Once the shelf is securely attached to the bracket, it’s time to enhance its overall appearance with decorative accents. These finishing touches can make a significant difference in the shelf’s visual appeal and help tie it in with the rest of the room’s design. One popular option is to add a decorative trim or molding along the front edge of the shelf to give it a more polished and finished look. Another option is to incorporate decorative brackets or corbels underneath the shelf for added support and aesthetic appeal. Additionally, consider adding small decorative items such as framed pictures, vases, or small sculptures to personalize the shelf and make it a focal point in the room. By carefully selecting and adding these finishing touches, you can transform a simple floating shelf into a stylish and eye-catching element in your space.