In this concise guide, we will explore the step-by-step process of installing a tile backsplash. From selecting the perfect tile to applying the adhesive and grouting, we will provide you with the essential knowledge and techniques required for a successful installation. Whether you are a DIY enthusiast or a professional, this article will equip you with the necessary skills to enhance the aesthetic appeal and functionality of your kitchen or bathroom with a beautiful tile backsplash.
Choosing the Right Tile for Your Backsplash
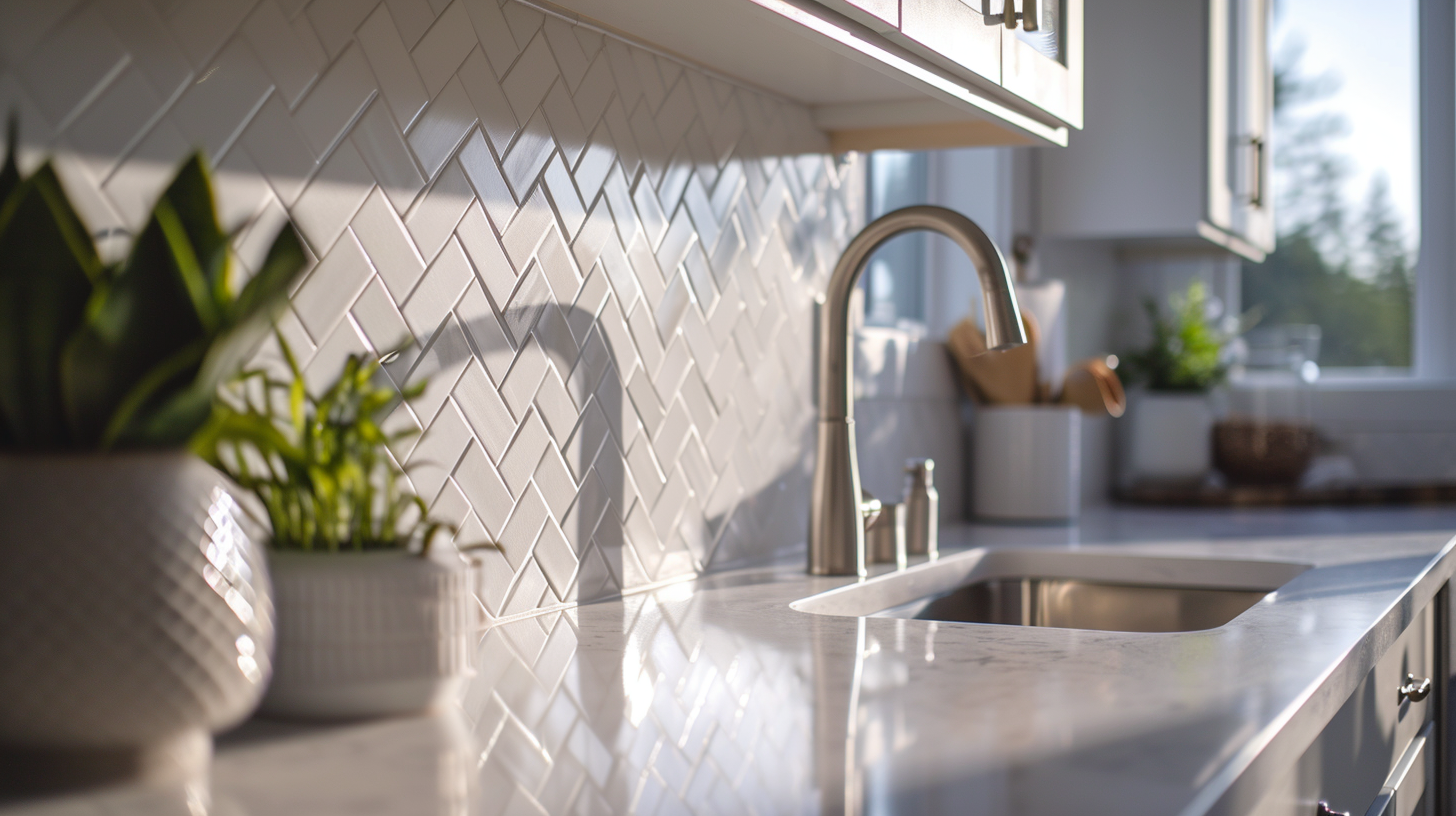
When selecting the appropriate tile for your backsplash, it is important to consider your personal style and preferences. One of the first decisions to make is the color of the tiles. The color should complement the overall design of your kitchen or bathroom while also reflecting your personal taste. Neutral colors like white, gray, or beige are popular choices as they provide a timeless and versatile look. However, if you want to add a pop of color or create a focal point, you can opt for vibrant hues or bold patterns. Speaking of patterns, selecting the right tile pattern is another crucial aspect. From classic subway tiles to intricate mosaic designs, the pattern you choose can greatly impact the overall aesthetic of your backsplash. It is advisable to consider the style of your kitchen or bathroom, as well as the size of the space, when selecting a tile pattern.
Gathering the Necessary Tools and Materials
Before starting the installation process, it is crucial to gather all the necessary tools and materials. This includes essential tools such as a tile cutter, trowel, and level, as well as materials like tiles, adhesive, and grout. By ensuring you have everything you need, you can proceed with the proper preparation techniques and achieve a successful tile backsplash installation.
Essential Tools and Materials
To successfully complete the tile backsplash installation, it is imperative to procure and assemble all the essential tools and materials required for the task at hand. When it comes to tile installation tips, having the right tools and materials is key to achieving a professional and long-lasting result. Some common mistakes in tile installation can be avoided by investing in the right equipment. Essential tools for tile installation include a notched trowel, tile cutter, tile spacers, grout float, and a sponge for grout cleanup. Additionally, it is important to have the appropriate materials such as adhesive or mortar, grout, and sealer. By ensuring that you have all the necessary tools and materials before starting the installation, you can minimize mistakes and achieve a successful tile backsplash installation.
Proper Preparation Techniques
During the initial stages of the tile backsplash installation, it is crucial to meticulously gather and organize all the necessary tools and materials for proper preparation. One important aspect of this preparation is preparing the substrate, which involves ensuring that the wall is clean, smooth, and properly primed. This helps to create a stable surface for the tile installation and prevents any moisture or damage to the wall. Additionally, sealing the grout joints is another important step in the process. Grout sealing helps to protect the grout from stains, moisture, and bacteria, extending the lifespan of the installation. It is recommended to use a high-quality grout sealer and follow the manufacturer’s instructions for application. Proper preparation techniques, such as preparing the substrate and sealing the grout joints, are essential for a successful and long-lasting tile backsplash installation.
Preparing the Surface for Tile Installation
Before installing tiles, it is important to properly prepare the surface. This involves cleaning the wall to remove any dirt, dust, or grease that could interfere with the tile adhesive. Additionally, any old materials such as wallpaper or loose paint should be removed. Lastly, applying a primer coat will help create a smooth and even surface for the tiles to adhere to.
Cleaning the Wall
Using a suitable cleaning solution, thoroughly wipe down the entire wall surface to remove any dirt or debris before beginning the tile installation process. Proper cleaning techniques are essential for ensuring a successful tile installation and a smooth, long-lasting finish. Before applying the cleaning solution, it is important to remove any residue from the wall surface. This can be done by using a scraper or a putty knife to gently scrape away any loose or peeling paint, wallpaper, or adhesive. Once the surface is free of residue, the cleaning solution can be applied using a sponge or a soft cloth. Be sure to follow the manufacturer’s instructions for the cleaning solution and rinse the wall thoroughly with clean water to remove any remaining residue. This will provide a clean, smooth surface for the tile adhesive to adhere to, ensuring a strong bond and a professional-looking tile installation.
Removing Old Materials
To prepare the surface for tile installation, gently scrape away any loose or peeling paint, wallpaper, or adhesive, ensuring a clean and smooth substrate. However, in some cases, there may be existing grout or damaged tiles that need to be addressed before proceeding with the installation. Removing grout can be a tedious task, but it is necessary to ensure a proper bond between the new tiles. A grout removal tool can be used to carefully scrape away the old grout without damaging the surrounding tiles. When it comes to replacing damaged tiles, it is important to first remove the broken tile by chipping away the surrounding grout and then carefully prying it out using a chisel or putty knife. Once the damaged tile is removed, the area can be cleaned and prepared for the installation of the new tile.
Applying Primer Coat
Properly preparing the surface for tile installation involves meticulously applying a primer coat, ensuring optimal adhesion and a smooth finish. Primer application techniques play a crucial role in achieving a successful tile installation. Before applying the primer, it is important to clean the surface thoroughly to remove any dirt, dust, or grease that can hinder proper adhesion. Additionally, choosing the right primer for the specific type of surface is essential. Different surfaces require different types of primers, such as latex or oil-based primers. Once the primer is applied, it is crucial to allow sufficient drying time. Rushing this step can lead to poor adhesion, which can cause the tiles to loosen or even detach over time. Following the manufacturer’s instructions for drying time is essential to ensure a long-lasting and durable tile installation.
Measuring and Cutting the Tiles
The accurate measurement and precise cutting of the tiles is essential for achieving a seamless and visually pleasing tile backsplash installation. Measuring accuracy ensures that the tiles fit perfectly within the designated space, while proper cutting techniques guarantee clean and precise edges.
To ensure measuring accuracy, it is crucial to use a tape measure or ruler with clear markings and to double-check all measurements before cutting. Taking into account any irregularities in the wall or floor is also important for achieving a precise fit.
When it comes to tile cutting techniques, there are various tools available, such as tile cutters, wet saws, or tile nippers. The choice of tool depends on the type of tile being used and the desired cut. It is important to follow manufacturer guidelines and wear protective gear while cutting tiles.
Applying the Adhesive and Setting the Tiles
An adhesive should be applied to the back of the tiles before setting them in place to ensure a strong and secure bond. This step is crucial in the installation of a tile backsplash. The adhesive acts as a bonding agent between the tile and the wall surface, preventing the tiles from coming loose over time. It is important to choose the right adhesive for your specific tile and substrate. Once the adhesive is applied, the tiles can be set in place, ensuring they are level and evenly spaced. After the adhesive has cured, the next step is applying grout to fill in the gaps between the tiles. This helps to seal the tiles and provides a finished look to the backsplash. Sealing the tiles with a grout sealer is also recommended to protect them from stains and moisture. Overall, proper application of adhesive, grouting, and sealing are essential for a successful tile backsplash installation.
Adding Tile Spacers and Ensuring Proper Alignment
To achieve precise alignment, it is important to use tile spacers and ensure that each tile is properly aligned with the adjacent ones. When installing a tile backsplash, the tile layout plays a crucial role in achieving a professional and visually appealing result. Tile spacers are small plastic pieces that are placed between tiles to ensure consistent spacing. They come in various sizes, allowing for different grout line widths. By using spacers, you can maintain a uniform gap between tiles, ensuring that they are evenly aligned. Additionally, when selecting the grout color, it is important to consider how it will complement the tile design and overall aesthetic of the space. The grout color can either blend in with the tiles or create a contrasting effect, enhancing the visual impact of the backsplash.
Grouting the Tile Joints
Once the tile layout is complete, it is essential to carefully grout the tile joints to ensure a durable and visually cohesive backsplash. Grouting not only helps to strengthen the tile installation but also prevents moisture from seeping in between the tiles. When it comes to grouting techniques, there are a few options to consider. Traditional grouting involves applying a mixture of cement, sand, and water between the tiles, which can be time-consuming and messy. However, there are also pre-mixed grout options available that simplify the process. Additionally, grout color options should be carefully chosen to complement the tile design and overall aesthetic of the space. From neutral shades to bold colors, the right grout color can enhance the visual impact of the backsplash and tie the whole room together.
Cleaning and Sealing the Tiles
Regular maintenance of the tiles, including thorough cleaning and proper sealing, is crucial to preserve their appearance and longevity. When it comes to cleaning techniques, it is important to avoid harsh chemicals that may damage the tiles. Instead, opt for mild cleaners specifically designed for tile surfaces. Regular sweeping and mopping can help remove dirt and debris, while a soft brush or sponge can be used for more stubborn stains. It is also important to address spills and stains immediately to prevent them from seeping into the tiles and causing permanent damage. Sealing the tiles is equally important, as it provides an additional layer of protection against stains and moisture. There are various sealing products available in the market, so it is essential to choose one that is compatible with the type of tiles being used. Following these cleaning and sealing practices will help maintain the beauty and durability of the tiles for years to come.
Finishing Touches and Maintenance Tips
Implementing proper maintenance techniques, such as regularly inspecting for cracks and applying a protective coat, can enhance the longevity and appearance of the tile backsplash. One important aspect of maintenance is maintaining the grout color. Over time, grout can become discolored due to dirt, grease, or mold. To prevent this, it is recommended to clean the grout regularly using a mild cleaner and a scrub brush. Additionally, applying a grout sealer can help in maintaining the color and preventing stains. Another crucial aspect of maintenance is preventing water damage. It is essential to ensure that the tile backsplash is properly sealed to prevent water from seeping behind the tiles and causing damage. Regularly inspecting for any signs of water damage, such as peeling or bubbling tiles, can help in identifying and fixing any potential issues before they escalate. By following these maintenance tips, you can ensure that your tile backsplash stays beautiful and functional for years to come.