Last Updated on 24th December 2023
In this comprehensive guide on repairing a broken step, we will provide step-by-step instructions on assessing damage, gathering necessary tools and materials, removing loose or damaged parts, repairing cracks or breaks, reinforcing for stability, reattaching to the staircase, sanding and finishing, and conducting final inspections and tests. By following these professional techniques, you will be able to successfully repair your broken step and maintain its longevity, ensuring a safe and functional staircase.
Assess the Damage
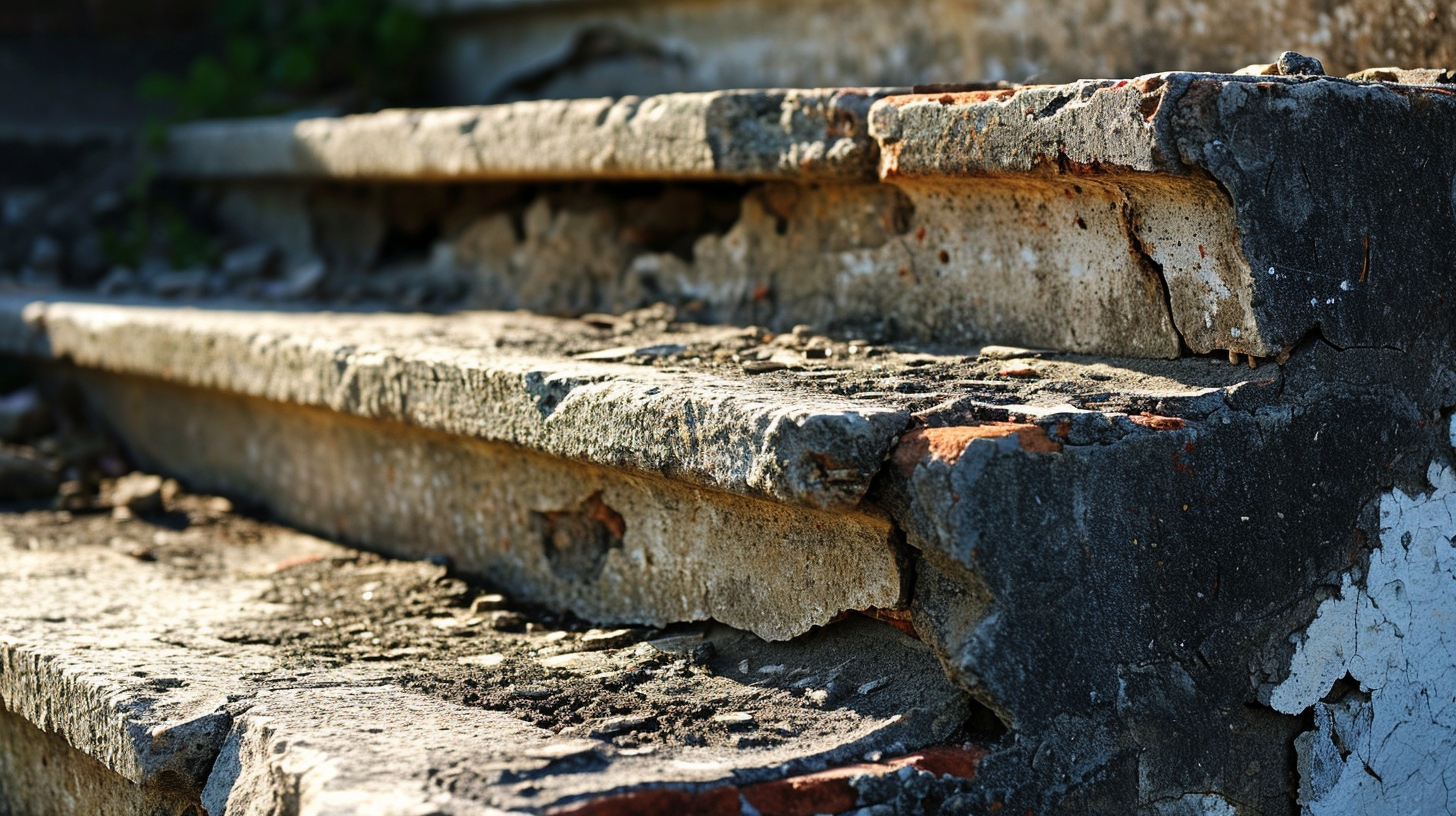
The first step in repairing a broken step is to assess the damage to determine the extent of the repairs needed. When evaluating the severity of the damage, it is important to carefully inspect the step for any visible cracks, chips, or structural issues. Additionally, it is crucial to examine the surrounding area for any signs of wear and tear or loose connections. By thoroughly evaluating the severity of the damage, one can determine the necessary repairs required to fix the broken step. This assessment may include replacing the entire step if the damage is extensive, or it may involve simply repairing minor cracks or chips. Understanding the extent of the damage is essential in planning and executing the appropriate repairs, ensuring the safety and functionality of the step.
Gather the Necessary Tools and Materials
Before beginning the repair process, it is imperative to gather all of the necessary tools and materials for the job. Safety precautions should be taken into consideration to ensure the repair is done without any accidents or injuries. It is important to wear protective gear such as gloves, safety glasses, and a dust mask to protect against any potential hazards. Additionally, it is crucial to estimate the cost of the repair beforehand to avoid any unexpected expenses. This can be done by assessing the extent of the damage and researching the prices of the required tools and materials. By gathering all the necessary tools and materials and taking the appropriate safety precautions, you can ensure a successful and cost-effective repair of a broken step.
Remove Any Loose or Damaged Parts
One of the first steps to repairing a broken step is to carefully remove any loose or damaged parts that may compromise the structural integrity of the stairs. When it comes to repairing loose or damaged parts, there are a few tips and tricks to keep in mind. First, it is important to assess the extent of the damage and determine if any parts need to be completely replaced or if they can be fixed. If the damage is minor, using wood glue or epoxy can help reattach loose parts. For more significant damage, it may be necessary to replace the entire step or use a filler material to rebuild the damaged area.
In addition to repairing the damage, it is equally important to take proactive measures to prevent future damage. Regular maintenance and inspection of the stairs can help identify any potential issues before they become major problems. This includes checking for loose or wobbly steps, loose screws or nails, and signs of rot or decay. Applying a protective finish or sealant to the steps can also help prevent moisture damage. Finally, ensuring that the stairs are properly designed and constructed to withstand regular use and weight is essential for preventing future damage.
Repair Cracks or Breaks in the Step
To repair cracks or breaks in the step, you can use a combination of epoxy and wood filler. Filling cracks in wooden steps is an essential step in maintaining their structural integrity and preventing further damage. First, clean the cracks and remove any loose debris or old filler. Then, apply a thin layer of epoxy into the crack, making sure to fill it completely. Epoxy is a strong adhesive that will bond the wood fibers together and create a solid repair. After the epoxy has dried, you can use wood filler to fill any remaining gaps or imperfections. Apply the wood filler with a putty knife, smoothing it out to match the surrounding step. Sand the repaired area to ensure a seamless finish. Following these steps will help restore the step’s strength and appearance.
Reinforce the Step for Added Stability
Applying multiple layers of wood glue to reinforce the step can significantly enhance its stability and reduce the risk of future damage. Wood glue is a strong adhesive that bonds the broken pieces of the step together, creating a sturdy and durable repair. However, it is important to note that wood glue alone may not be enough to fully restore the step’s structural integrity. In some cases, using wood filler in combination with wood glue can provide additional reinforcement. Wood filler can be applied to fill in any gaps or cracks in the step, creating a smooth and level surface. Once the wood filler has dried, multiple layers of wood glue can be applied on top to strengthen the repaired area. This combination of wood glue and wood filler ensures a more reliable and long-lasting repair for the broken step.
Reattach the Step to the Staircase
To reattach the step to the staircase, you will need a few essential tools such as a drill, screws, and a screwdriver. The step-by-step reattachment process involves removing any remaining screws or nails, aligning the step with the staircase, and securely fastening it using the appropriate hardware. Following these steps will ensure a sturdy and safe repair of the broken step.
Tools Needed for Reattachment
Regularly maintaining and inspecting the necessary tools for reattachment is essential to ensure a successful repair of the broken step. When it comes to step repair techniques, having the right tools is crucial for a seamless and durable fix. The tools needed for reattachment may vary depending on the type of step and the extent of damage. Commonly used tools include a hammer, drill, screwdriver, measuring tape, and level. These tools are used to remove the broken step, align it properly, and secure it back in place. Additionally, specialized tools such as a chisel or a pry bar may be required to remove any damaged or loose materials. By regularly inspecting and maintaining these tools, professionals can ensure that they are in good working condition, allowing for efficient and effective step repair.
Step-By-Step Reattachment Process
Inspecting and aligning the broken step properly, as well as securing it back in place, are crucial steps in the step-by-step reattachment process. Before starting the repair, it is important to prepare the step by removing any debris or loose material. This can be done using a broom or a brush. Once the step is clean, it is important to align it properly with the surrounding steps. This can be achieved by carefully measuring and adjusting the position of the step. Once the step is aligned, it can be secured back in place using construction adhesive or screws, depending on the material of the step. It is important to ensure that the step is firmly attached and stable before allowing any traffic on it. By following these steps, one can effectively repair a broken step and ensure its long-term durability and safety.
Sand and Finish the Repaired Step
The contractor must ensure that the repaired step’s sanding and finishing matches the surrounding steps for a seamless and polished appearance. To achieve this, the contractor must employ appropriate refinishing techniques, including sanding and sealing. Sanding is an essential step in the process of repairing a broken step. It helps to remove any rough edges or imperfections caused by the repair work. The contractor should use sandpaper of the appropriate grit to achieve a smooth and even surface. Once the sanding is complete, the next step is to seal the repaired step. Sealing helps to protect the wood from moisture and other environmental factors that could cause damage over time. It also enhances the overall appearance of the step, giving it a glossy and finished look. By implementing proper sanding and sealing techniques, the contractor can ensure that the repaired step blends seamlessly with the surrounding steps, resulting in a visually pleasing and durable solution.
Inspect and Test the Repaired Step
While ensuring that all repair work has been completed, it is crucial for the contractor to thoroughly inspect and test the repaired step for any potential structural issues or safety concerns. Testing durability and checking for stability are essential steps in ensuring the long-term functionality and safety of the repaired step. The contractor should examine the repaired area for any signs of weakness or instability, such as cracks, loose connections, or uneven surfaces. They should also test the step by applying pressure and weight to ensure it can withstand normal usage. Additionally, it is important to check if the repaired step aligns properly with the rest of the staircase and if it meets all relevant safety codes and regulations. By conducting a comprehensive inspection and testing process, the contractor can provide assurance that the repaired step is secure and reliable for use.
Maintain and Prevent Future Damage
To ensure the long-term durability of the repaired step, it is crucial to maintain regular inspections and maintenance. This involves periodically checking for any signs of wear and tear, such as loose screws or cracks, and addressing them promptly. Additionally, implementing effective preventive measures like applying a non-slip coating or installing handrails can significantly reduce the risk of future damage and accidents.
Regular Inspections and Maintenance
An effective way to ensure the longevity and safety of your property is by conducting regular inspections and maintenance. Regular maintenance is essential to identify any potential issues and address them before they become major problems. By implementing an inspection schedule, you can stay on top of maintenance tasks and prevent costly repairs or accidents. An inspection schedule allows you to plan and allocate resources for regular maintenance activities such as checking the structural integrity of your property, inspecting electrical and plumbing systems, and ensuring the functionality of safety features like smoke detectors and fire extinguishers. It also provides an opportunity to address any wear and tear, replace outdated equipment, and make necessary repairs. By investing time and resources in regular inspections and maintenance, you can protect your property, extend its lifespan, and maintain a safe environment for occupants.
Effective Preventive Measures
Implementing effective preventive measures, such as regular inspections and maintenance, is crucial to minimize future damage and maintain the integrity of your property. When it comes to property maintenance, it is important to identify and address potential issues before they become major problems. By implementing preventive measures, you can reduce the risk of costly repairs and ensure the safety of your property. Common causes of damage include water leakage, structural wear and tear, and neglect. Regular inspections allow you to identify any signs of damage or deterioration early on, allowing for prompt repairs. Additionally, regular maintenance, such as cleaning gutters, checking for leaks, and repairing any minor issues, can help prevent major damage from occurring. By taking proactive measures, you can protect your property and avoid significant repair costs in the future.


