Last Updated on 26th December 2023
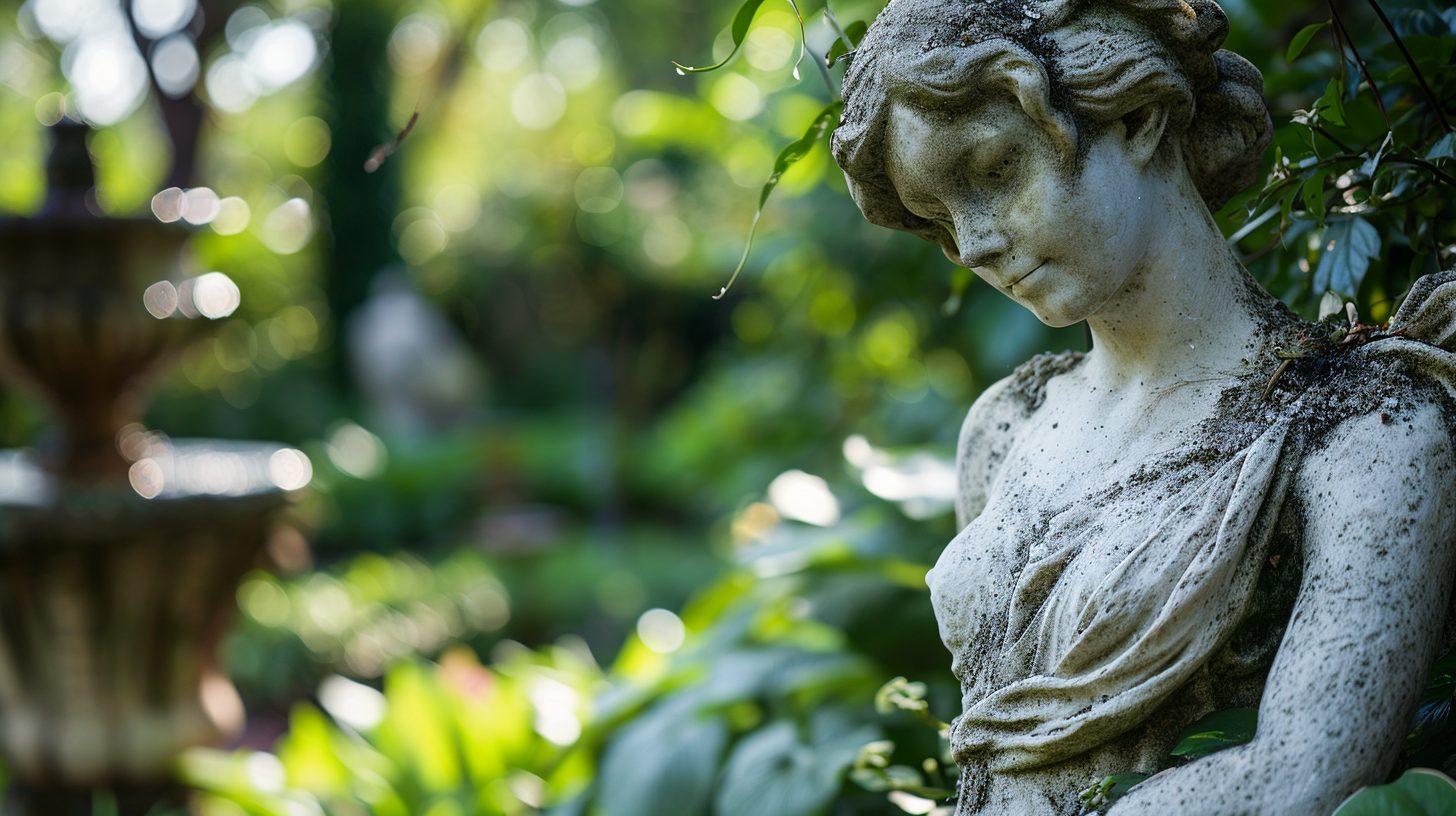
In this article, we will explore the necessary steps to effectively repair a chipped garden statue. Whether it’s a cherished heirloom or a beloved decorative piece, a damaged garden statue can be restored to its former glory with the right techniques. By following the outlined directions, you will learn how to assess the damage, gather the necessary materials, prepare the surface, apply the repair compound, and add the finishing touches to ensure a seamless and professional-looking restoration.
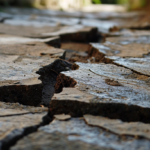
Assessing the Damage
In order to determine the extent of the damage to the garden statue, a thorough assessment of the cracks, chips, and overall structural integrity must be conducted. This assessment is crucial in evaluating options for repair and determining the best course of action. It is recommended to consult a professional, such as a restoration specialist or a professional sculptor, to ensure an accurate assessment is made. These experts have the knowledge and experience to identify the severity of the damage and provide valuable insights on potential repair methods. They can also advise on the materials and techniques that should be used for the restoration process. Taking the time to consult a professional will help ensure that the garden statue is repaired effectively, maintaining its aesthetic appeal and structural integrity for years to come.
Gathering the Necessary Materials
To successfully repair the chipped garden statue, it is essential to gather the necessary materials for the restoration process, including adhesive compounds and sculpting tools. When choosing the right adhesive, it is important to consider the type of material the statue is made of, as well as the severity of the damage. Epoxy or cyanoacrylate adhesives are commonly used for repairing garden statues, as they provide strong and durable bonds. However, it is crucial to read the instructions carefully and follow the manufacturer’s recommendations to ensure proper application. Additionally, safety precautions should be taken during the repair process. Wearing protective gloves and goggles can prevent skin irritation or eye injuries from adhesive exposure. It is also advisable to work in a well-ventilated area to avoid inhaling fumes. By gathering the necessary materials and taking safety precautions, one can effectively restore a chipped garden statue.
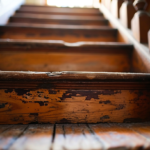
Preparing the Surface
One must carefully assess the condition of the chipped surface and select an appropriate technique for its preparation before proceeding with the restoration process. When preparing the surface, it is essential to ensure that it is clean, dry, and free from any loose debris or dirt. This can be achieved by gently brushing or wiping the area with a soft cloth or brush. It is also crucial to choose the right adhesive for the restoration process. The adhesive should be strong enough to hold the chipped piece in place but also flexible to allow for any movement or expansion. Epoxy adhesives are commonly used for repairing chipped surfaces as they provide a strong bond and are resistant to water and weathering. However, it is essential to carefully follow the manufacturer’s instructions for proper application and curing time to ensure a successful restoration.
Applying the Repair Compound
The next step in the restoration process involves carefully applying the repair compound onto the chipped surface, ensuring both adequate coverage and seamless integration of the compound with the surrounding area. Proper application techniques are crucial in achieving a successful repair and ensuring the longevity of the fix. Firstly, it is important to choose the right repair compound that matches the material of the garden statue. Different materials require different types of compounds, such as epoxy, cement, or resin-based products. Once the appropriate compound is selected, it should be mixed according to the manufacturer’s instructions, ensuring a homogeneous consistency. The compound should then be delicately applied to the chipped area, using a putty knife or a spatula, ensuring that it fills the entire chip and blends seamlessly with the surrounding surface. Excess compound should be carefully removed, and the repaired area should be left to cure according to the compound’s instructions, ensuring a durable and aesthetically pleasing restoration.
Finishing Touches and Sealing the Statue
After the repair compound has fully cured, it is essential to carefully apply a sealant to the restored area, ensuring long-lasting protection against the elements and providing the finishing touches to the statue’s overall appearance. When choosing the right type of sealant for a chipped garden statue, it is important to consider its compatibility with the repair compound used and its ability to withstand outdoor conditions. Silicone-based sealants are commonly used due to their durability and weather resistance. To achieve a smooth and seamless finish, apply the sealant using a small brush or sponge, ensuring that it covers the entire repaired area and blends seamlessly with the surrounding surface. Take care to remove any excess sealant before it dries to avoid unsightly buildup. Properly sealing the statue will not only protect it from further damage but also enhance its aesthetic appeal.