Last Updated on 26th December 2023
In this informative article, we will explore the essential steps to effectively repair a cracked garage floor. Cracks in the garage floor not only compromise its structural integrity but also pose safety hazards. By following a systematic approach, homeowners can address this issue and restore the floor’s functionality. From assessing the severity of the crack to selecting the appropriate repair method, this article will provide professional guidance on how to achieve long-lasting results.
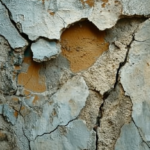
Assessing the Severity of the Crack
Before attempting any repair methods, it is crucial to accurately assess the severity of the crack in order to determine the most appropriate course of action. When assessing the crack, it is important to inspect the length, width, and depth of the crack. Additionally, identifying any movement or shifting of the cracked areas is essential. Reinforcing cracked areas is necessary to prevent further damage. This can be achieved by using epoxy injections or by applying a concrete patching compound. Epoxy injections are effective for structural cracks as they strengthen the concrete and prevent the crack from spreading. On the other hand, concrete patching compounds are suitable for non-structural cracks and can be used to fill and seal the crack, preventing moisture and debris from entering and causing further deterioration. Properly assessing the severity of the crack is vital to ensure the chosen repair method effectively addresses the issue and prevents any future damage.
Gathering the Necessary Tools and Materials
To successfully repair a cracked garage floor, it is essential to gather the necessary tools and materials for the job. A step-by-step guide can help ensure a smooth and efficient repair process. First, assess the severity of the crack to determine the extent of the repair needed. Once you have determined the scope of the work, it is time to gather the tools and materials required. This includes a concrete patching compound, a trowel, a wire brush, safety goggles, gloves, and a broom for cleaning the area. Additionally, it is important to consider cost comparison when purchasing the materials. Comparing prices from different suppliers can help you find the best deal without compromising on quality. By following a step-by-step guide and gathering the necessary tools and materials, you can successfully repair your cracked garage floor.
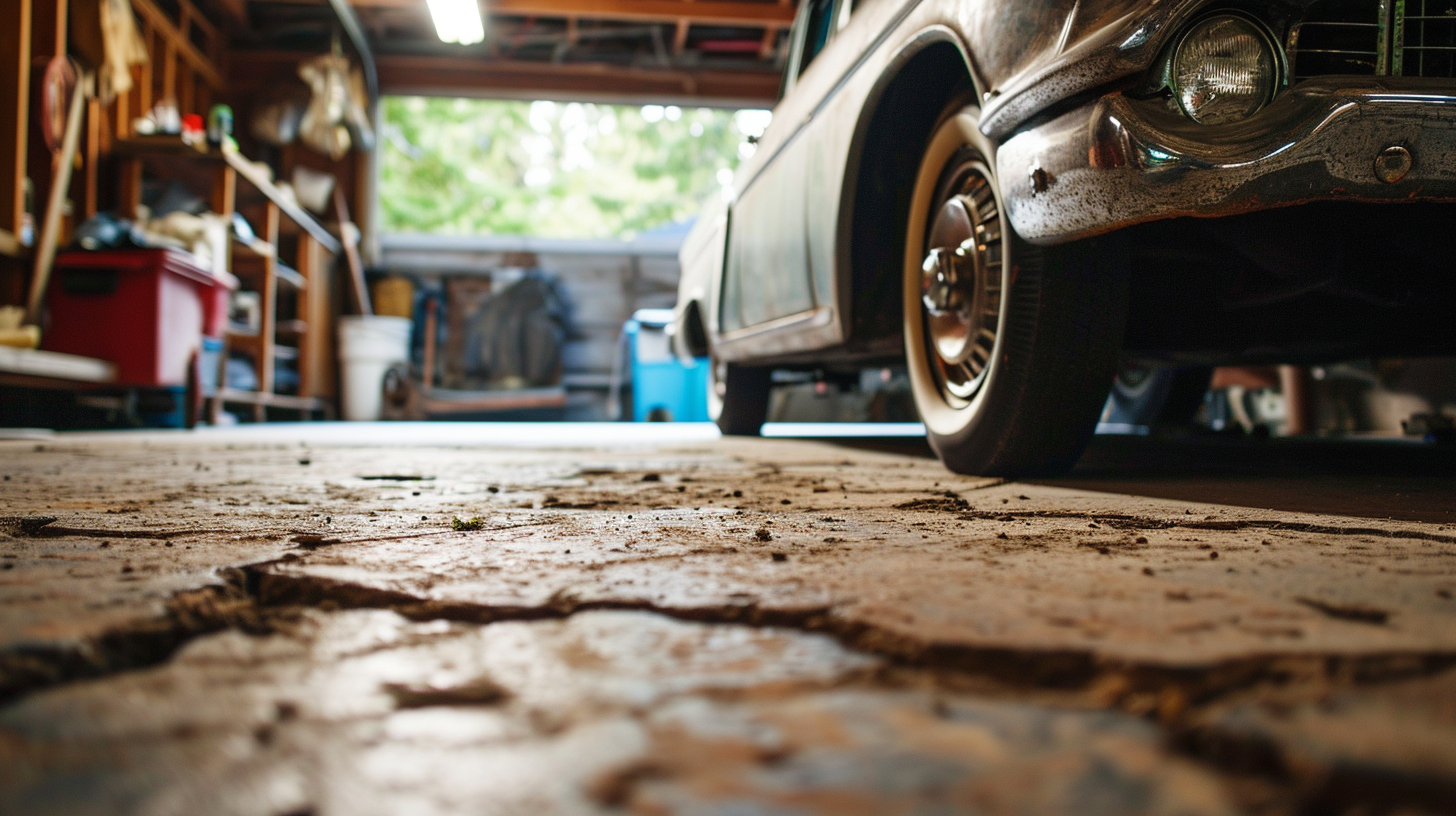
Preparing the Cracked Area for Repair
Before proceeding with the repair, it is crucial to prepare the cracked area properly. Start by thoroughly cleaning the damaged surface to remove any dirt, debris, or loose concrete. Next, carefully assess the crack and select the appropriate materials for repair based on its size and severity.
Cleaning the Damaged Surface
In order to effectively repair the cracked garage floor, thorough cleaning of the damaged surface is essential for ensuring proper adhesion of the repair materials. Surface preparation plays a crucial role in the success of any crack repair method. Cleaning the damaged surface involves removing any loose debris, dirt, and oil stains. This can be done by sweeping the area and using a degreaser to remove any oil or grease. Additionally, it is important to thoroughly rinse the surface with water and allow it to dry completely before proceeding with the repair process. By properly cleaning the damaged surface, the repair materials can adhere better, resulting in a more durable and long-lasting fix.
Choosing the Right Materials
Two key factors to consider when choosing the right materials for repairing a cracked garage floor are the severity of the crack and the type of material used for the original flooring. Cost considerations and the environmental impact of the materials are also important factors to take into account. When it comes to cost, it is essential to compare prices of different materials and assess whether the chosen material provides good value for money. Additionally, considering the environmental impact is crucial in today’s eco-conscious world. Opting for eco-friendly materials, such as recycled or sustainable options, can help minimize the negative impact on the environment. Balancing cost considerations and environmental impact is vital in making an informed decision when selecting the appropriate materials for repairing a cracked garage floor.
Choosing the Right Repair Method
When it comes to repairing a cracked garage floor, it is crucial to choose the right repair method. Two common options are epoxy and concrete patch. Factors to consider include the cost-effectiveness of each option and whether to DIY or hire a professional.
Epoxy Vs. Concrete Patch
Our team recommends using epoxy as the preferred repair method for cracked garage floors due to its long-lasting durability and seamless finish. When it comes to repairing cracked garage floors, homeowners often debate between epoxy and concrete mix. While both options can be effective, epoxy offers several advantages over concrete mix. Firstly, epoxy is known for its superior durability, as it forms a strong bond with the existing floor, preventing further cracking or damage. Additionally, epoxy provides a seamless and smooth finish, creating a visually appealing surface that is easy to clean and maintain. Furthermore, when it comes to the repair process, it is highly recommended to hire professionals. Professionals have the expertise and experience to properly assess the extent of the damage and apply the epoxy in a precise manner, ensuring a long-lasting and reliable repair.
Cost-Effective Repair Options
There are various cost-effective repair options available for homeowners to choose from when considering how to repair a cracked garage floor, such as using concrete patch or epoxy. Concrete patch is a popular choice as it is affordable and easy to apply. To repair a cracked garage floor using concrete patch, start by cleaning the cracked area thoroughly and removing any loose debris. Then, mix the concrete patch according to the manufacturer’s instructions and apply it to the crack using a trowel, making sure to fill it completely. Smooth out the surface and allow it to dry for the recommended amount of time. Alternatively, epoxy can also be used for repairing cracked garage floors. Epoxy is a durable and long-lasting material that can be applied directly to the crack, providing a seamless finish. Follow the manufacturer’s step-by-step instructions to properly apply the epoxy and ensure a successful repair. Ultimately, the choice between concrete patch and epoxy depends on the severity of the crack and personal preference.
DIY or Professional Help?
Two key factors to consider when deciding between DIY or professional help for repairing a cracked garage floor are the complexity of the repair and the potential cost savings. DIY repairs can be more cost-effective, as they eliminate labor costs associated with hiring a professional. However, it is important to weigh the pros and cons of each option. DIY repairs may be suitable for minor cracks that can be easily filled with epoxy or concrete patching materials. On the other hand, professional help should be sought for larger, more complex cracks that require structural repairs. Professional contractors have the experience and expertise to properly assess the damage and provide long-lasting solutions. Additionally, they may offer warranties on their work, providing peace of mind for homeowners. Ultimately, the decision between DIY or professional help depends on the severity of the crack and the homeowner’s comfort level with undertaking the repair themselves.
Filling and Patching the Crack
Applying a high-quality epoxy resin is an effective method for filling and patching the crack in a garage floor. Garage floors are prone to cracking due to various factors such as heavy vehicle traffic, temperature fluctuations, and settling of the ground. These cracks not only affect the aesthetics of the floor but also pose safety risks and can lead to further damage if left untreated. Epoxy resin has become a popular choice for repairing cracks in garage floors due to its durability and ability to withstand heavy loads. It is a two-component system that, when mixed together, forms a strong and resilient material that bonds well with the concrete surface. This repair technique not only fills the crack but also provides a seamless finish, enhancing the overall appearance of the garage floor.
Allowing Sufficient Drying Time
To ensure the effectiveness of the epoxy resin repair, it is crucial to allow sufficient drying time, as this will allow the material to fully cure and bond with the concrete surface. Proper drying techniques are essential to achieve a strong and long-lasting repair. One recommended method is to use fans or heaters to promote air circulation and accelerate the drying process. Additionally, it is important to consider the environmental conditions, such as temperature and humidity, as they can affect the drying time. It is also worth exploring alternative repair methods that may offer quicker drying times, such as using fast-curing epoxy resins or polyurethane-based products. However, it is important to note that these alternatives may have limitations in terms of their overall strength and durability. Therefore, it is advisable to consult with a professional to determine the most suitable drying techniques and repair method for your specific situation.
Smoothing and Sanding the Repaired Surface
Achieving a seamless finish on the repaired surface requires meticulous attention to detail, including carefully smoothing and sanding the area to ensure a flawless result. When it comes to smoothing techniques, there are a few options to consider. One common technique is using a putty knife or a trowel to apply a thin layer of filler compound over the crack, then smoothing it out with long, even strokes. Another option is to use a self-leveling compound, which can help create a more even surface. As for sanding equipment, an orbital sander or a hand sanding block with a fine-grit sandpaper is typically used. This helps to remove any rough edges or imperfections, creating a smooth and uniform surface. It is important to be patient and thorough during the smoothing and sanding process to ensure a professional-looking finish.
Applying a Protective Sealant
One essential step in the process of repairing a cracked garage floor is the application of a high-quality protective sealant. This protective sealant should be applied in two even coats to ensure maximum durability and longevity. The benefits of using a sealant for garage floor repair are numerous. Firstly, a protective sealant provides a barrier against moisture, preventing further damage and deterioration. It also helps to maintain the structural integrity of the floor, preventing cracks from expanding or new ones from forming. Additionally, a sealant adds a layer of protection against stains, oil spills, and other contaminants that can cause unsightly damage to the floor. Furthermore, a properly applied sealant enhances the overall appearance of the garage floor, giving it a clean and polished look. Overall, the application of a protective sealant is crucial in ensuring the long-term durability and aesthetic appeal of a repaired garage floor.
Maintaining and Preventing Future Cracks
Regularly inspecting the garage floor and promptly addressing any minor cracks or signs of damage can effectively maintain its structural integrity and prevent future cracks from developing. By implementing preventive measures and practicing long-term maintenance, homeowners can ensure the longevity of their garage floor. One way to prevent future damage is to apply a protective sealant regularly. This sealant acts as a barrier against moisture, chemicals, and other substances that can weaken the concrete and lead to cracks. Additionally, homeowners should avoid placing heavy objects or vehicles in one spot for extended periods to prevent excessive pressure on the floor. It is also crucial to keep the garage floor clean by regularly sweeping and removing any oil spills or debris. Lastly, maintaining proper drainage around the garage can prevent water accumulation and potential damage. By following these preventive measures, homeowners can save both time and money in the long run.