Last Updated on 26th December 2023
In this informative article, we will explore the necessary steps to effectively repair a cracked patio paver. Cracks in patio pavers can not only be unsightly, but they can also pose safety hazards and cause further damage if left untreated. By following the outlined directions and utilizing the appropriate tools and materials, you can restore the integrity and aesthetic appeal of your patio. Let’s delve into the process of assessing, removing, replacing, and securing the cracked paver, along with some additional maintenance tips for long-lasting results.
Assess the Damage
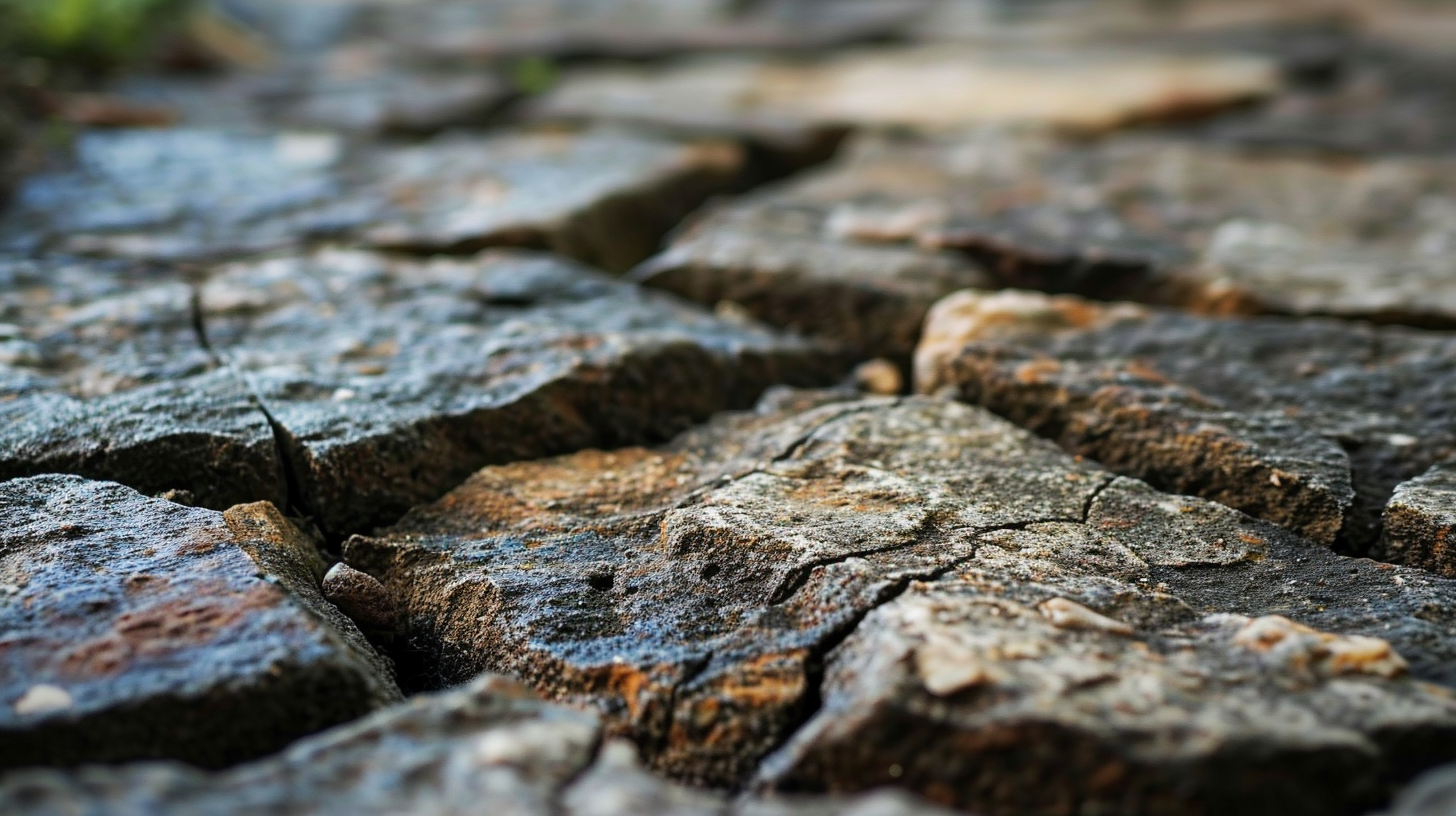
Before beginning any repair work, it is crucial to thoroughly assess the damage using a combination of visual inspection and tactile examination. This step is essential to evaluate the extent of the cracked patio paver and identify potential causes. By visually inspecting the crack, you can determine its length, width, and depth. Additionally, examining the surrounding area can reveal any underlying issues that may have contributed to the damage, such as uneven settling or water drainage problems. Tactile examination involves physically feeling the crack to assess its stability and determine if any loose or crumbling material needs to be removed before repairs can begin. Properly evaluating the damage ensures that the appropriate repair methods and materials are used, resulting in a long-lasting and effective solution.
Gather the Necessary Tools and Materials
In order to successfully repair a cracked patio paver, it is crucial to gather the necessary tools and materials. The essential repair equipment may include a chisel, mallet, and safety goggles, while the required materials for repair can consist of replacement pavers, sand, and a jointing compound. By having these tools and materials ready, the repair process can be carried out efficiently and effectively.
Essential Repair Equipment
The effective repair of a cracked patio paver requires the use of essential equipment such as a masonry chisel and a rubber mallet. When it comes to repair techniques, it is important to follow a step-by-step process to ensure a successful outcome. Firstly, use the masonry chisel to carefully remove any loose or damaged pieces of the cracked paver. Next, clean the area thoroughly, removing any debris or dirt that may affect the adhesion of the repair material. Once the area is clean, apply a suitable adhesive or mortar mix to the cracked paver, using the rubber mallet to firmly press it into place. Allow the repair to dry completely before using the patio. To prevent future cracks and damage, regular maintenance is essential. This includes sweeping away debris, sealing the pavers, and avoiding heavy or sharp objects on the surface. By following these repair techniques and maintenance tips, you can effectively repair and maintain your patio pavers.
Required Materials for Repair
To successfully repair a cracked patio paver, it is crucial to gather the necessary tools and materials, such as a masonry chisel and a rubber mallet, which are essential for a seamless repair process. However, having the right materials is just one part of the equation. Understanding the various repair techniques and DIY solutions is equally important. One common repair technique involves removing the damaged paver by gently chiseling away the surrounding grout and mortar. Once the damaged paver is removed, a new one can be placed and secured using a suitable adhesive or mortar. Additionally, DIY solutions like using a concrete patching compound or epoxy resin can be effective for smaller cracks. Overall, being knowledgeable about repair techniques and DIY solutions will enable homeowners to successfully restore their cracked patio pavers and maintain the integrity and aesthetics of their outdoor spaces.
Remove the Cracked Paver
To remove a cracked paver, start by clearing the surrounding area of any debris or loose materials. Then, carefully lift the cracked paver using a pry bar or a flat-edged shovel. Be cautious not to damage the neighboring pavers during the removal process. Now, let’s discuss the best removal technique and how to prevent future cracking.
Best Removal Technique
One effective removal technique for a cracked patio paver is utilizing a specialized pry bar to carefully extract the damaged piece. This method allows for precision and control during the removal process, minimizing the risk of further damage to surrounding pavers. However, there are alternative methods that can also be used to remove cracked patio pavers. One such method is using a chisel and hammer to carefully chip away at the cracked paver until it can be lifted out. Another alternative method is using a diamond blade on a circular saw to cut through the cracked paver, allowing for easy removal. These alternative methods may be suitable depending on the specific circumstances and the availability of tools. It is important to carefully consider which method is most appropriate for the situation to ensure a successful removal process.
Prevent Future Cracking
Implementing proper maintenance techniques, such as regularly inspecting and repairing cracks, can effectively prevent future cracking of patio pavers. Taking preventive measures and implementing long-term solutions can help maintain the integrity and durability of patio pavers, ensuring their longevity and aesthetic appeal. One important preventive measure is to ensure that the base beneath the pavers is properly prepared and compacted. This will help prevent shifting and settling, which can lead to cracks. Additionally, applying a sealant to the pavers can help protect them from moisture and other external factors that may cause cracking. Regularly inspecting the pavers for any signs of damage and promptly repairing any cracks or chips can also prevent further deterioration. By adopting these preventive measures and implementing long-term solutions, patio pavers can remain in excellent condition for years to come.
Prepare the Base and Replace the Paver
Before replacing the cracked paver, it is essential to thoroughly prepare the base by removing any debris or loose material. Proper base preparation is crucial for ensuring the longevity and stability of the new paver. To begin, carefully remove the cracked paver and set it aside for disposal. Next, use a shovel or broom to clear away any dirt, leaves, or other debris from the area. Inspect the base for any signs of sinking or instability. If necessary, add a layer of compacted gravel or sand to create a solid foundation. Once the base is prepared, carefully place the new paver into position, ensuring that it fits snugly and is level with the surrounding pavers. Finally, fill in the gaps with sand or polymeric sand and compact the area to ensure proper stability. Following these steps will ensure a successful replacement of the cracked paver and a strong, durable patio surface.
Secure the Repaired Paver in Place
To ensure the long-term stability of the patio, it is crucial to secure the repaired paver in place by using a high-quality adhesive that bonds the paver securely to the base. This step is essential to reinforce stability and prevent future cracking or displacement. When repairing a cracked patio paver, it is important to follow proper installation techniques to ensure a successful repair. Firstly, the damaged paver should be carefully removed, and any loose debris or dirt should be cleared from the area. Then, a high-quality adhesive should be applied to the base and edges of the paver, ensuring complete coverage. The paver should be carefully aligned and pressed firmly into place, allowing the adhesive to bond properly. Finally, it is recommended to apply pressure or use weights to keep the paver in place while the adhesive cures. Following these steps will help ensure a secure and long-lasting repair.
Finishing Touches and Maintenance Tips
One of the key aspects to consider when it comes to finishing touches and maintenance tips for a repaired patio paver is applying a protective sealant over the surface to enhance its durability and resistance to weathering. Regularly applying a sealant to your patio paver can help prevent staining, water damage, and weed growth. Before applying the sealant, it is important to thoroughly clean the paver using appropriate paver cleaning techniques. This may include using a mild detergent, a scrub brush, and a pressure washer to remove any dirt, grime, or moss that has accumulated over time. Once the paver is clean and dry, the sealant can be applied using a brush or roller, following the manufacturer’s instructions. This simple maintenance tip can significantly extend the lifespan of your patio paver and keep it looking its best for years to come.


