Last Updated on 26th December 2023
In this article, we will explore the essential steps and techniques required to effectively repair a damaged brick wall. From assessing the extent of the damage to gathering the necessary tools and materials, we will guide you through the entire process. With our professional guidance, you will learn how to repair cracks, replace loose or damaged bricks, apply mortar, and rebuild the wall. By the end, you will be equipped with the knowledge and skills to successfully restore and protect your brick wall.
Assessing the Damage
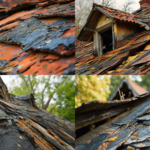
In order to adequately address the issue at hand, a thorough assessment of the damage to the brick wall must be conducted by a qualified professional. Evaluating the extent of the damage is crucial for determining the appropriate repair methods and ensuring a successful restoration. The assessment process involves carefully inspecting the brick wall to identify any cracks, holes, or other signs of deterioration. This includes examining the mortar joints to determine if they are still intact or if they require repointing. Additionally, the professional will assess the stability of the wall, checking for any leaning or bulging. By conducting a comprehensive evaluation, the professional will be able to develop a precise plan for repairing the damaged brick wall, taking into consideration the specific needs and requirements of the structure.
Gathering the Necessary Tools and Materials
Before beginning the repair of a damaged brick wall, it is crucial to gather the necessary tools and materials. Essential tools needed for this project may include a hammer, chisel, trowel, level, and safety goggles. Additionally, required materials for the repair may consist of brick mortar, replacement bricks, and a waterproofing sealant.
Essential Tools Needed
To effectively repair a damaged brick wall, it is imperative to have a comprehensive set of essential tools, such as a brick chisel, trowel, level, and masonry hammer, to ensure a seamless restoration process. These tools for brick repair are essential in addressing common brick wall damages such as cracks, loose bricks, and mortar deterioration. The brick chisel is used to remove damaged bricks, while the trowel is necessary for applying new mortar. The level ensures that the bricks are properly aligned, and the masonry hammer is used to secure loose bricks. Having these tools readily available allows for a more efficient and effective repair process, ensuring that the damaged brick wall is restored to its original state.
Required Materials for Repair
A successful repair of a damaged brick wall necessitates both the acquisition of the necessary tools and the careful selection and gathering of the required materials, such as bricks, mortar, and a spirit level, so as to achieve a thorough and meticulous restoration. When repairing large holes in a brick wall, it is essential to have the right materials in order to ensure a strong and durable repair. Firstly, bricks of the same size and type as the existing ones should be sourced to maintain uniformity. Additionally, an appropriate mortar mix needs to be prepared by mixing mortar with water according to the manufacturer’s instructions. This mortar is then used to securely bond the replacement bricks into the damaged areas of the wall. By carefully selecting and gathering the required materials, a damaged brick wall can be effectively repaired, restoring its structural integrity.
Preparing the Brick Wall Surface
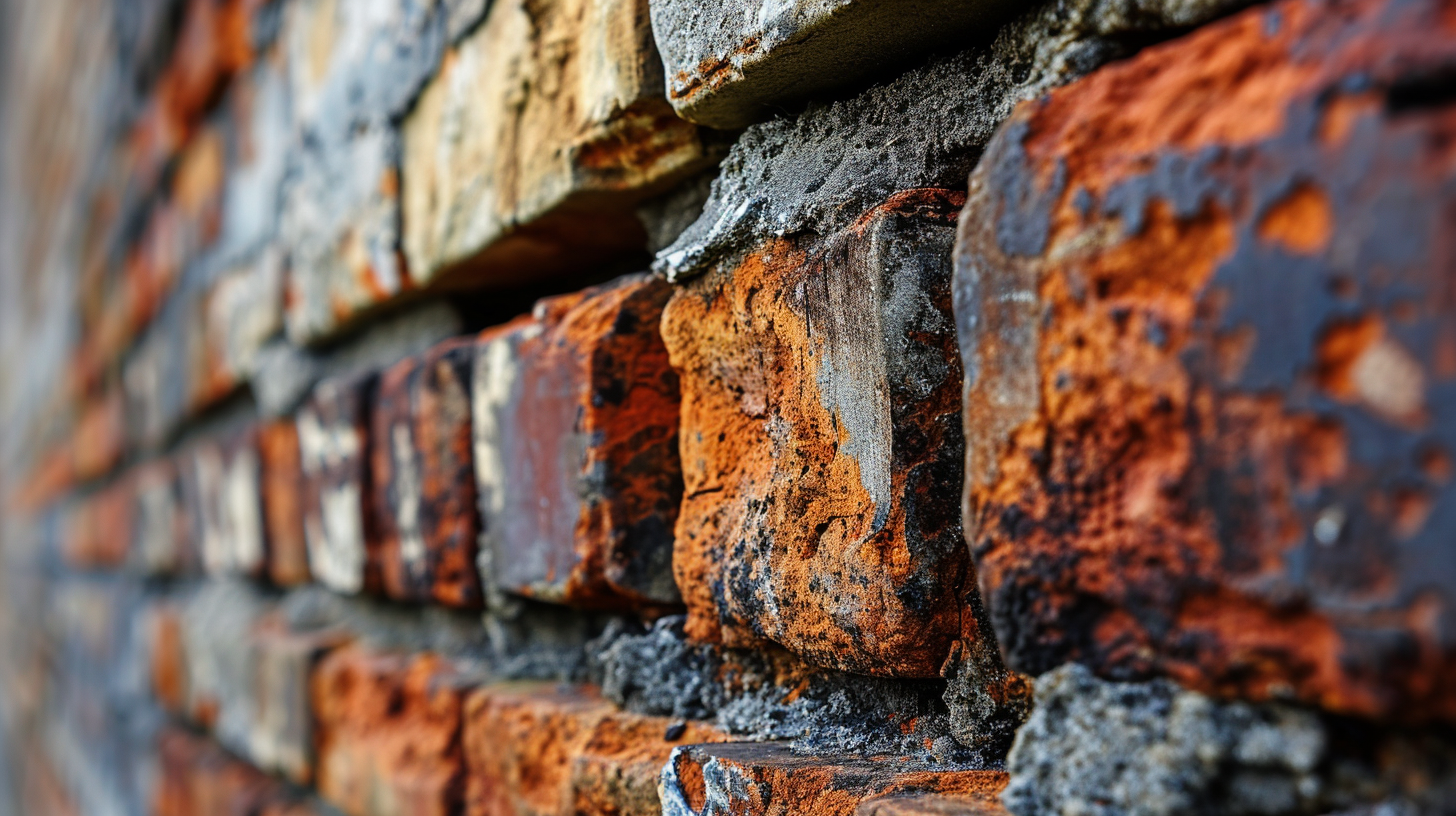
The thorough inspection revealed several cracks and chips on the brick wall surface, requiring precise cleaning and removal of all loose debris before proceeding with the repair. Preparing the surface is a crucial step in repairing a damaged brick wall. Cleaning the brick wall is essential to remove any dirt, grime, or loose mortar that may hinder the repair process. It is recommended to start by scrubbing the surface with a stiff brush and a mild detergent solution. This will help remove any surface contaminants and ensure a clean and smooth surface for the repair. After cleaning, it is important to thoroughly rinse the wall with water to remove any remaining detergent residue. Once the surface is clean, it can be inspected for any remaining cracks or damage, which can then be addressed in the repair process.
Repairing Cracks and Small Damages
One must carefully assess the extent of the cracks and damages on the brick wall surface before determining the appropriate repair techniques. When repairing larger damages, such as missing bricks or large cracks, it is important to first remove any loose or damaged bricks and clean the area thoroughly. Once the area is clean, new bricks can be installed to replace the damaged ones. Filling in deep cracks requires a different approach. It is recommended to use a high-quality mortar mix that matches the color of the existing mortar. The mix should be applied using a pointing trowel, making sure to fill the crack completely and smooth out any excess mortar. After the repair is complete, it is important to allow sufficient time for the mortar to dry and cure before applying any additional treatments or coatings.
Replacing Loose or Damaged Bricks
When dealing with loose or damaged bricks in a wall, it is important to approach the replacement process carefully and methodically. Begin by gently removing the loose brick, taking care not to disturb the surrounding bricks. Next, choose replacement bricks that closely match the existing ones in terms of size, color, and texture. Finally, secure the new bricks in place using a strong mortar, ensuring a sturdy and seamless repair.
Proper Brick Removal
To ensure a seamless restoration process, it is imperative to follow the guidelines for safe and efficient brick removal in order to replace loose or damaged bricks. Brick removal techniques play a crucial role in preserving the structural integrity of the wall and minimizing potential hazards. When removing bricks, it is important to start from the top and work downwards, carefully loosening each brick with a chisel and hammer. Safety precautions must be taken, including wearing protective goggles, gloves, and a dust mask to prevent injury and exposure to harmful dust particles. Additionally, using a brick removal saw or drill can make the process more efficient and precise. By following these brick removal techniques and safety precautions, one can ensure a successful restoration and maintain the durability of the brick wall.
Choosing Replacement Bricks
In order to maintain the visual cohesion of the brick wall, it is essential to carefully select replacement bricks that closely match the original ones. When it comes to choosing matching replacement bricks, there are several factors to consider, with brick color being the most important one. To ensure a seamless repair, it is crucial to select replacement bricks that have a similar color and texture as the existing ones. This can be achieved by either finding bricks that are from the same batch as the original ones or by exploring brick color options that closely resemble the existing ones. It is advisable to consult with a professional brick supplier or mason who can provide guidance and assistance in selecting the most suitable replacement bricks for the damaged wall.
Securing New Bricks
To ensure the structural integrity of the repaired brick wall, it is necessary to securely fasten the new bricks in place using strong adhesive and carefully aligning them with the existing ones. This step is crucial in reinforcing the structure and preventing future damage. The process starts by removing any loose or damaged bricks, cleaning the area, and preparing it for the new bricks. Once the surface is ready, a high-quality adhesive should be applied to the back of each brick before placing it in its designated spot. It is important to ensure that each brick is aligned properly and firmly pressed against the existing ones. This will create a strong bond and prevent any movement or shifting, which can lead to further damage. By securely fastening the new bricks and ensuring their proper alignment, the repaired brick wall will have a strengthened structure, minimizing the risk of future damage.
Applying Mortar and Rebuilding the Wall
The process of properly applying mortar is essential for effectively rebuilding a damaged brick wall. When it comes to rebuilding techniques, mortar application plays a crucial role in ensuring the stability and longevity of the structure. To begin the process, it is important to prepare the damaged area by removing any loose or damaged bricks. The next step is to mix the mortar according to the manufacturer’s instructions, ensuring the right consistency. Using a trowel, the mortar should be applied evenly to the brick joints, making sure to fill any gaps completely. It is crucial to use the correct technique, such as buttering the edges of the bricks before placing them in position. Additionally, striking the joints with a jointer tool will help achieve a professional finish. By following these rebuilding techniques and applying mortar correctly, the damaged brick wall can be effectively restored to its former strength and integrity.
Finishing and Protecting the Repaired Brick Wall
Once the repaired brick wall has been properly finished and protected, it will not only enhance the aesthetics of the structure but also safeguard it against potential damage and deterioration. To achieve this, it is essential to seal and waterproof the wall, as well as add a protective coating. Sealing the brick wall involves applying a sealant or mortar joint compound to fill in any gaps or cracks, preventing the intrusion of water or moisture. This helps to maintain the integrity of the wall and prevent further damage. Additionally, adding a protective coating such as a clear masonry sealer or paint can further enhance the durability and longevity of the wall. This coating acts as a barrier against water, UV rays, and other external elements, ensuring the wall remains in optimal condition for years to come.