Last Updated on 26th December 2023
In this comprehensive guide, we will explore the step-by-step process of repairing a leaking faucet handle. Leaks can be a nuisance, causing water waste and potential damage to your fixtures. By following these professional techniques, you will learn how to assess the problem, gather the necessary tools, and effectively fix the issue. With our expert guidance, you can confidently restore your faucet handle to its optimal working condition, saving both water and money.
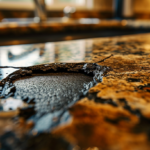
Assess the Problem
In order to effectively assess the problem with the leaking faucet handle, it is important to carefully examine its components and determine the root cause of the issue. Proper assessment techniques and troubleshooting tips can help identify the underlying problem and guide the repair process. The first step is to turn off the water supply to prevent any further leakage. Next, inspect the handle for any visible signs of damage or wear. Check the cartridge or valve stem, which is responsible for controlling the flow of water, for any signs of corrosion or debris buildup. It is also essential to examine the O-rings and seals for any cracks or deterioration. By thoroughly assessing these components, you can determine the necessary repairs or replacements needed to fix the leaking faucet handle.
Gather the Necessary Tools
To successfully repair the leaking faucet handle, gather the necessary tools such as a wrench, pliers, and a replacement cartridge or valve stem. Proper maintenance of faucets is essential to prevent leaks and ensure their longevity. However, if a leak does occur, troubleshooting tips can help identify the problem and guide you towards a solution. Start by turning off the water supply to the faucet using the shut-off valves located under the sink. Next, disassemble the handle using the appropriate tools, such as a wrench and pliers. Inspect the cartridge or valve stem for any damage or wear and replace it if necessary. It is important to use the correct replacement part to ensure a proper fit and prevent future leaks. By gathering the necessary tools and following proper troubleshooting tips, you can successfully repair a leaking faucet handle and restore its functionality.
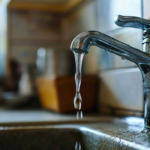
Turn Off the Water Supply
Before starting the repair process, it is crucial to turn off the water supply to avoid any further leakage or water damage. Proper water supply shutdown is essential to ensure safety and prevent any accidents. When dealing with a leaking faucet handle, it is important to take necessary safety precautions. First, locate the shut-off valve under the sink or near the water meter and turn it clockwise to shut off the water supply. This will prevent any water from flowing while you work on the faucet handle. Additionally, it is advisable to release any remaining pressure in the plumbing system by opening a faucet on a lower level of the house. By following these safety measures, you can avoid water damage and ensure a smooth repair process.
Disassemble the Faucet Handle
To disassemble the faucet handle, carefully remove the decorative cap using a flathead screwdriver, and then unscrew the handle counterclockwise using an adjustable wrench. Proper disassembly techniques are crucial to ensure a successful repair of a leaking faucet handle. When troubleshooting common issues, it is important to follow the correct steps to avoid causing further damage. Begin by shutting off the water supply to the faucet to prevent any leaks or accidents. Next, carefully remove the handle by following the aforementioned steps. Once the handle is removed, inspect the cartridge or valve stem for any signs of damage or wear. If necessary, replace the faulty component with a new one. Reassemble the faucet handle in the reverse order, ensuring that all parts are securely tightened. Finally, turn on the water supply and check for any leaks. Following these proper disassembly techniques will help resolve common faucet handle issues effectively.
Inspect and Clean the Components
Inspect and clean the components of the faucet handle to ensure proper functioning. Start by identifying any faulty parts, such as worn-out washers or damaged O-rings. Use appropriate cleaning techniques, such as using a mild detergent or vinegar solution, to remove any built-up dirt or mineral deposits.
Identify Faulty Parts
One must carefully examine the faucet handle to identify any faulty parts and ensure optimal functionality. Proper maintenance and troubleshooting techniques are essential to address any issues with a leaking faucet handle. When encountering a leak, it is crucial to first turn off the water supply to prevent further damage. Then, disassemble the handle by removing the decorative cover and unscrewing the handle. Inspect the various components for signs of wear, such as cracks, corrosion, or mineral buildup. Common faulty parts include the O-ring, cartridge, or valve seat. These can be replaced with new ones to stop the leak. Additionally, cleaning the components thoroughly and applying lubricant can improve the faucet’s performance. By identifying and replacing any faulty parts, one can easily repair a leaking faucet handle and ensure its proper functioning.
Proper Cleaning Techniques
When cleaning the components of a leaking faucet handle, it is essential to thoroughly remove any mineral buildup or debris to ensure proper functionality. Regular maintenance and cleaning can prevent further damage and extend the lifespan of the faucet handle. To clean the handle, start by turning off the water supply and dismantling the handle. Use a mild cleaning solution or vinegar to soak the components and remove any mineral deposits. Scrub gently with a soft brush or toothbrush to ensure all debris is removed. Rinse the parts thoroughly and reassemble the handle. Regular cleaning with appropriate cleaning products can prevent leaks and maintain the smooth operation of the faucet handle. Following these maintenance tips can save you from costly repairs and ensure the longevity of your faucet.
Replace the O-Rings or Washers
To fix a leaking faucet handle, one of the common steps is to replace the O-rings or washers. O-rings are typically used in cartridge-style faucets, while washers are used in compression-style faucets. Proper replacement techniques include turning off the water supply, disassembling the handle, removing the old O-rings or washers, and installing new ones. It is important to note that worn-out or damaged O-rings or washers are often the cause of leaks in faucet handles.
O-Rings Vs. Washers
The decision to use O-rings or washers for replacing the worn-out seals in the faucet handle is crucial in ensuring a proper and long-lasting repair. When comparing O-rings and washers, each option has its pros and cons. O-rings are known for their flexibility and ability to create a tight seal. They are also more resistant to wear and tear, making them a durable choice. On the other hand, washers are more affordable and easier to find. However, they may not provide as tight of a seal as O-rings and may wear out more quickly. When choosing between O-rings and washers for your faucet, consider the size and shape of the seal, as well as the specific requirements of your faucet. It is important to choose the right option to ensure a proper repair and prevent future leaks.
Proper Replacement Techniques
During the repair process, it is essential to carefully consider the proper replacement techniques for the O-rings or washers to ensure a successful and effective repair. When it comes to fixing a leaking faucet handle, using the right replacement technique is crucial for preventing future leaks and ensuring the longevity of the repair. One of the most common mistakes is not properly lubricating the O-rings or washers before installation. This can lead to friction and wear, causing the replacement parts to deteriorate quickly and result in another leak. Another common mistake is using the wrong size or type of O-ring or washer. It is important to choose replacements that are the exact match for the original parts to ensure a proper fit and prevent leaks. Taking the time to understand and implement the proper replacement techniques will save time and money in the long run.
Common Causes of Leaks
Several common causes of leaks can be attributed to the improper replacement of O-rings or washers. When these components are not installed correctly or are worn out, water can seep through and cause leaks in faucet handles. Another common cause of leaks is a damaged cartridge or valve stem. These parts can become worn or corroded over time, leading to water leakage. Additionally, a loose or damaged packing nut can also result in a leaky faucet handle. To troubleshoot and fix these issues, follow these steps: 1) Turn off the water supply to the faucet. 2) Remove the handle and inspect the O-rings and washers for damage. 3) Replace any worn or damaged components. 4) Check the cartridge or valve stem and replace if necessary. 5) Tighten or replace the packing nut if it is loose or damaged. By addressing these common causes and following these troubleshooting steps, you can effectively repair a leaking faucet handle.
Reassemble the Faucet Handle
Efficiently reassembling the faucet handle is essential to restore proper functionality and prevent further leakage. When it comes to the reassembling process, it is important to follow a few troubleshooting tips to ensure success. First, carefully examine the handle and the surrounding area to identify any damaged or worn-out parts. Replace any faulty components with new ones to guarantee a proper fit. Next, refer to the manufacturer’s instructions or consult a plumbing professional for guidance on the correct order of assembly. Take note of any specific tools or techniques required for the reassembly. Additionally, make sure to tighten all screws and connections securely without over-tightening, as this can lead to further damage. By following these troubleshooting tips and taking the time to reassemble the faucet handle correctly, you can restore its functionality and prevent any future leaks.
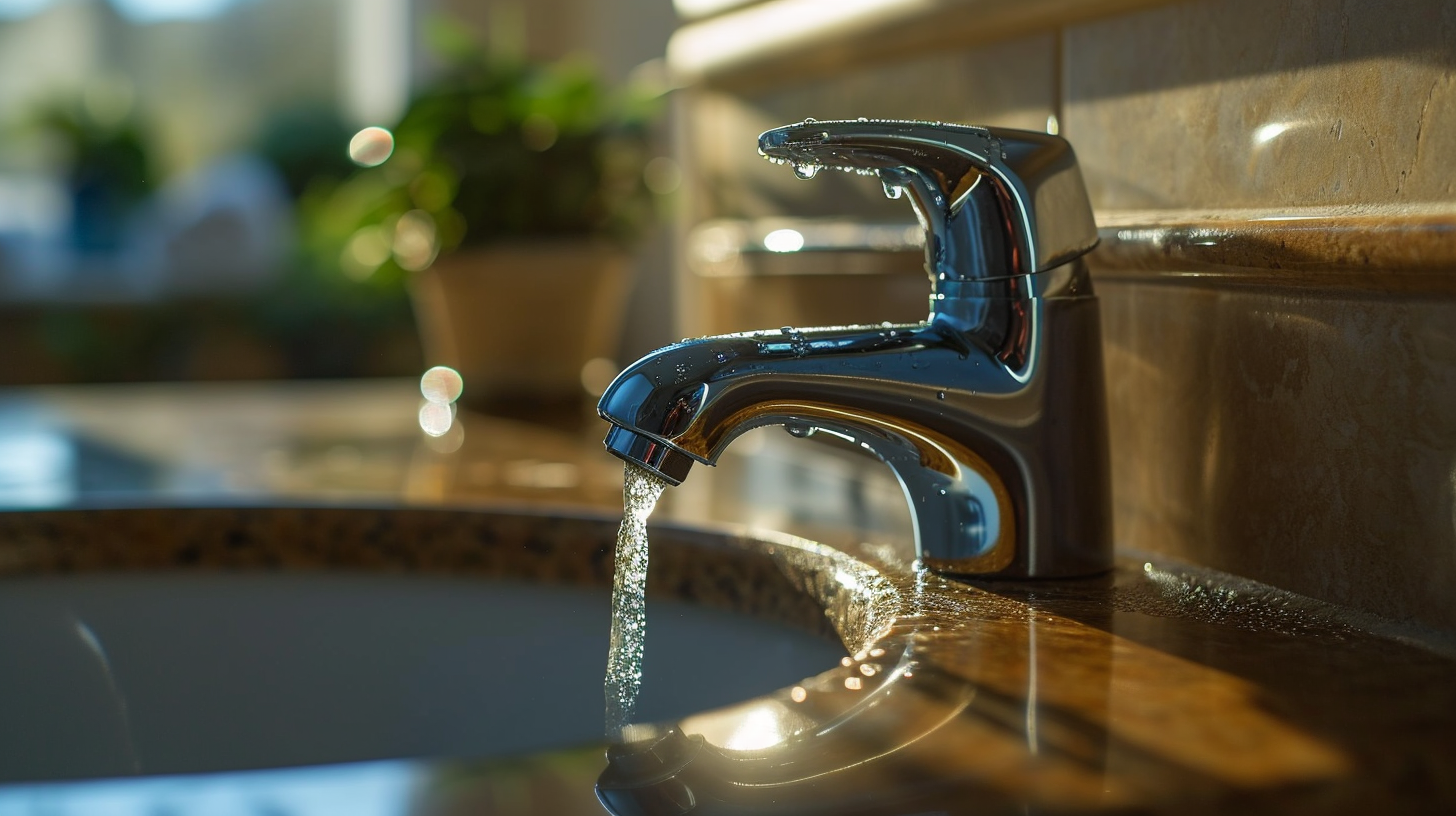
Turn On the Water Supply
To test the effectiveness of the faucet handle repair, turn on the water supply and observe for any signs of leakage or irregular water flow. This step is crucial in ensuring that the repair has been successful and that the faucet is functioning properly. When turning on the water supply, pay attention to the water pressure. Proper water pressure is essential for the smooth operation of faucets and other plumbing fixtures. If the water pressure is too low or too high, it may indicate underlying plumbing issues that need to be addressed. Common plumbing issues that can affect water pressure include clogged pipes, faulty pressure regulators, or problems with the main water supply. Therefore, it is important to carefully observe the water flow and pressure to ensure a successful repair and to identify any additional issues that may need attention.
Test for Leaks and Adjust as Needed
I will carefully inspect the faucet handle for any signs of leakage and make necessary adjustments to ensure it functions properly. Proper leak detection is crucial in maintaining the functionality of a faucet handle. To test for leaks, start by turning off the water supply to the faucet. Then, open the faucet and check for any water leakage around the handle. If there are signs of leakage, it is important to troubleshoot the issue. One of the troubleshooting techniques is to tighten the handle’s retaining nut. This can be done by using an adjustable wrench to tighten the nut in a clockwise direction. Additionally, checking the washer or cartridge inside the handle for any damage or wear and tear is also essential. By following these proper leak detection and troubleshooting techniques, the faucet handle can be repaired efficiently.