Last Updated on 26th December 2023
In this informative article, we will explore the essential steps involved in repairing a rotten deck board. A deteriorating deck not only compromises the aesthetics of your outdoor space but also poses safety hazards. By following the professional guidance outlined herein, you will be equipped with the necessary knowledge and tools to successfully restore your deck board. From assessing the damage to securing the replacement board, each step will be explained in detail to ensure a durable and visually appealing result.
Assessing the Damage
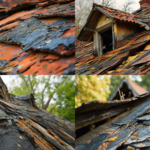
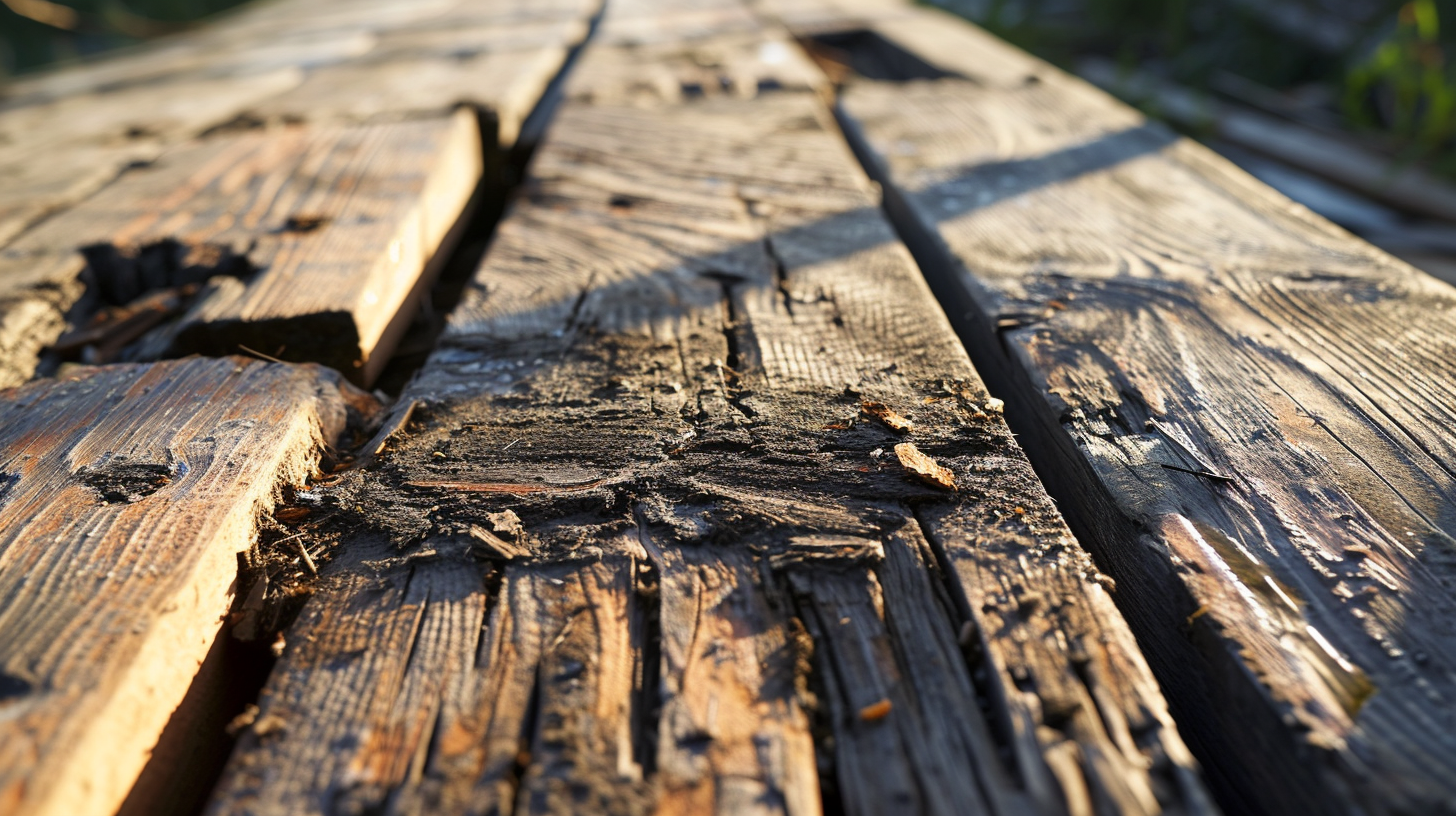
Before determining the best course of action, it is crucial to thoroughly assess the damage caused to the deck board. Assessing the extent of the damage will help in understanding the severity of the issue and the required repairs. Start by visually inspecting the deck board for signs of rot, such as discoloration, softness, or crumbling. Probe the affected areas with a screwdriver to check for any structural weakness. Assessing the potential causes of the damage is also important to prevent future issues. Common causes include moisture buildup, inadequate ventilation, or insect infestation. Identifying the underlying cause will help in implementing necessary measures to prevent further damage. It is recommended to consult a professional if the damage is extensive or if you are unsure about the best course of action.
Gathering the Necessary Tools and Materials
Before beginning the repair process, it is essential to gather all the necessary tools and materials. This includes items such as a pry bar, hammer, tape measure, circular saw, replacement deck boards, screws, and a drill. Having everything prepared and readily available will ensure a smooth and efficient repair job.
Essential Tools Needed
The essential tools needed for repairing a rotten deck board include a hammer, a pry bar, and a circular saw. When it comes to tools selection, it is crucial to choose ones that are suitable for the task at hand. A hammer is essential for driving nails or screws, while a pry bar helps in removing the damaged board. A circular saw is necessary for cutting the new board to the desired size. However, it is important to consider safety precautions while using these tools. Always wear protective gear such as safety glasses and gloves to prevent injuries. Additionally, make sure to read and follow the manufacturer’s instructions for safe and proper tool usage. By selecting the right tools and following safety precautions, you can successfully repair a rotten deck board and ensure a safe and functional outdoor space.
Required Materials for Repair
Moreover, it is essential to gather all the required materials for repair, including deck screws, wood filler, a putty knife, and sandpaper. When it comes to repairing a rotten deck board, having the right materials is crucial for a successful outcome. Repair techniques for rotten deck boards may vary depending on the severity of the damage. In some cases, it may be necessary to replace the entire board, while in others, a patching technique can be used. Alternative materials such as composite decking boards can also be considered, as they are more resistant to rot and require less maintenance. However, it is important to ensure that the new board or alternative material matches the existing deck’s appearance. Ultimately, the choice of repair technique and materials will depend on the specific situation and the homeowner’s preferences.
Gathering Everything Beforehand
To ensure a smooth and efficient repair process, it is essential to prioritize gathering all necessary tools and materials beforehand for the task at hand. When it comes to repairing a rotten deck board, assessing the extent of the damage is crucial. This will help determine the tools and materials needed for the repair. After assessing the extent of the damage, the next step is to prepare the workspace. Clear the area around the rotten deck board, removing any furniture or obstacles that may hinder the repair process. It is also important to ensure a safe working environment by wearing appropriate protective gear such as gloves and safety goggles. By gathering all necessary tools and materials and preparing the workspace beforehand, the repair process can be carried out smoothly and efficiently.
Removing the Rotten Deck Board
In order to effectively address the issue of a rotten deck board, it is essential to carefully extract the deteriorated plank from its position without causing any further damage. Deck board replacement is a common task for homeowners looking to preserve the deck surface and maintain its structural integrity. When removing a rotten deck board, it is important to use the appropriate tools, such as a pry bar or a screwdriver, to gently pry the board out of place. It is crucial to avoid excessive force, as this can lead to damage to the surrounding boards or the deck structure itself. Once the rotten board is removed, it is recommended to inspect the underlying joists for any signs of damage or rot, and make any necessary repairs before installing the new deck board. Taking these precautions will ensure a successful deck board replacement and help to maintain the overall quality of the deck surface.
Inspecting the Underlying Structure
Before proceeding with any repairs, it is crucial to thoroughly inspect the underlying structure of the deck. Look for signs of structural damage such as sagging, loose or damaged support beams, or rotting wood. Conducting a professional inspection can provide additional insights and ensure a comprehensive assessment of the damage. By inspecting the underlying structure, you can accurately estimate the cost and scope of the repair project, allowing for proper planning and budgeting.
Structural Damage Signs
One should carefully examine the deck’s underlying structure for any signs of structural damage, such as sagging or excessive movement. Assessing the damage is crucial to identify the extent of any potential issues and determine the necessary repairs. While a DIY inspection can provide some insights, there are significant benefits to opting for a professional inspection. Professional inspectors have the expertise and experience to identify even subtle signs of structural damage that may be missed by an untrained eye. Their thorough assessment can help homeowners make informed decisions about the repair process, ensuring the deck’s safety and longevity. Moreover, professional inspectors can provide detailed reports that outline the extent of the damage and recommend appropriate repair solutions. Investing in a professional inspection is a proactive step towards maintaining a structurally sound deck.
Professional Inspection Benefits
Opting for a professional inspection provides homeowners with the advantage of expertly identifying and addressing potential structural issues, ensuring the long-term stability of the deck. Hiring professionals for deck inspections offers numerous benefits that DIY enthusiasts may not be able to provide. Professionals have the knowledge and expertise to thoroughly assess the condition of the deck, including the deck boards, and identify any underlying problems that may not be immediately apparent to an untrained eye. They can also provide valuable insights and recommendations for repairs or replacements needed to maintain the deck’s integrity. When it comes to deck board repairs, professionals can offer valuable advice on the best materials and techniques to use, ensuring a more durable and long-lasting solution. By hiring professionals, homeowners can have peace of mind knowing that their deck is in the hands of experts who can address any potential issues and ensure the overall safety and longevity of the structure.
Repair Cost Estimation
Additionally, accurately estimating the repair costs is crucial in determining the feasibility of addressing the underlying structural issues of a rotten deck board. Conducting a thorough repair cost analysis is essential for homeowners who want to budget for repairs effectively. A repair cost analysis involves assessing the extent of the damage caused by the rotten deck board and determining the materials and labor required for the repair. Factors such as the size of the deck, the type of wood used, and the complexity of the repair will all influence the overall cost. By accurately estimating the repair costs, homeowners can make informed decisions about whether to proceed with the repair or explore alternative options. It also allows them to set a realistic budget and avoid any unexpected financial burdens.
Cutting a Replacement Deck Board
To properly replace a deck board, it is essential to accurately measure and carefully cut the replacement board to ensure a seamless fit and maintain the structural integrity of the deck. Deck board installation requires attention to detail and precision to ensure a long-lasting and safe outdoor space. When it comes to deck board maintenance, replacing rotten or damaged boards is a common task. The first step is to identify the damaged board and remove it by carefully prying up the surrounding boards. Next, measure the length and width of the damaged board to determine the dimensions for the replacement. Using a circular saw or a handsaw, cut the replacement board to the correct size. Finally, position the new board in place, ensuring it aligns with the existing boards, and secure it with screws or nails. Regular maintenance and timely replacement of deck boards are crucial to preserving the overall condition and appearance of the deck.
Preparing the Replacement Board
The careful selection and proper preparation of the replacement board is crucial for ensuring a seamless and durable deck repair. When it comes to replacement board preparation, there are a few key steps to follow. Firstly, it is important to choose a replacement board that matches the size and type of the existing deck boards. This will ensure a consistent appearance and prevent potential issues down the line. Secondly, the replacement board should be properly treated or sealed to protect it from moisture and rot. This is especially important as common deck board issues often stem from water damage. Lastly, the replacement board should be properly cut and sanded to fit seamlessly into the existing deck structure. By taking the time to prepare the replacement board correctly, homeowners can ensure a successful and long-lasting deck repair.
Installing the Replacement Deck Board
Ensuring a precise fit, aligning the replacement deck board with the existing boards is a critical step in the installation process. Choosing the right replacement deck board is essential to maintain the overall aesthetic and structural integrity of the deck. When selecting a replacement deck board, it is important to consider factors such as the type of wood, size, and color to ensure a seamless blend with the existing boards. Tips for proper installation of a replacement deck board include measuring and cutting the board to the correct length, making sure it fits snugly into the space, and using screws or nails to secure it in place. Additionally, it is crucial to inspect and repair any underlying issues, such as rot or damage, before installing the new board. By following these tips, homeowners can successfully install a replacement deck board and prolong the life of their deck.
Securing the New Board in Place
Effectively fastening the new board in place is crucial to ensure the long-term stability and durability of the deck. Proper deck board maintenance is essential in preventing future rot and damage. When securing the new board, it is important to consider the type of fasteners to use. Stainless steel screws or nails are recommended due to their resistance to corrosion. These fasteners should be driven into the joists at regular intervals, ensuring a secure attachment. It is also advisable to pre-drill holes in the board to prevent splitting. Additionally, using a screwdriver or impact driver to tighten the fasteners will provide a stronger hold. Applying a weather-resistant sealant or stain to the board after installation will further protect it from moisture and UV damage, extending its lifespan and minimizing the need for future repairs. Properly securing the new board is an integral step in maintaining a sturdy and long-lasting deck.
Finishing and Sealing the Repaired Deck Board
To ensure the longevity of the repaired deck board, it is recommended to carefully apply a high-quality sealant and then proceed to finish it with a weather-resistant stain. Sealing the repaired deck board is essential to protect it from moisture, UV rays, and other elements that can cause damage over time. When it comes to sealing techniques, there are several options available. One popular technique is to use a brush or roller to evenly apply the sealant on the entire surface of the board. Another technique involves spraying the sealant, which can provide a more consistent finish. Whichever technique you choose, it is important to follow the manufacturer’s instructions and apply multiple coats if necessary. In addition to sealing, regular maintenance is also crucial for the longevity of the deck board. This includes cleaning the surface regularly, removing any debris or stains, and inspecting for any signs of damage. By following these sealing techniques and maintenance tips, you can ensure that your repaired deck board will remain in excellent condition for years to come.