Last Updated on 26th December 2023
In this article, we will explore a step-by-step guide on how to effectively repair a scratched wood floor. Whether caused by everyday wear and tear or accidental mishaps, scratches on a wood floor can be unsightly and compromise the overall aesthetics of a space. By following the recommended methods and using the right materials, you can restore your wood floor to its original beauty and maintain its longevity. Read on to discover the professional techniques and tips for successfully repairing scratched wood floors.
Assessing the Damage
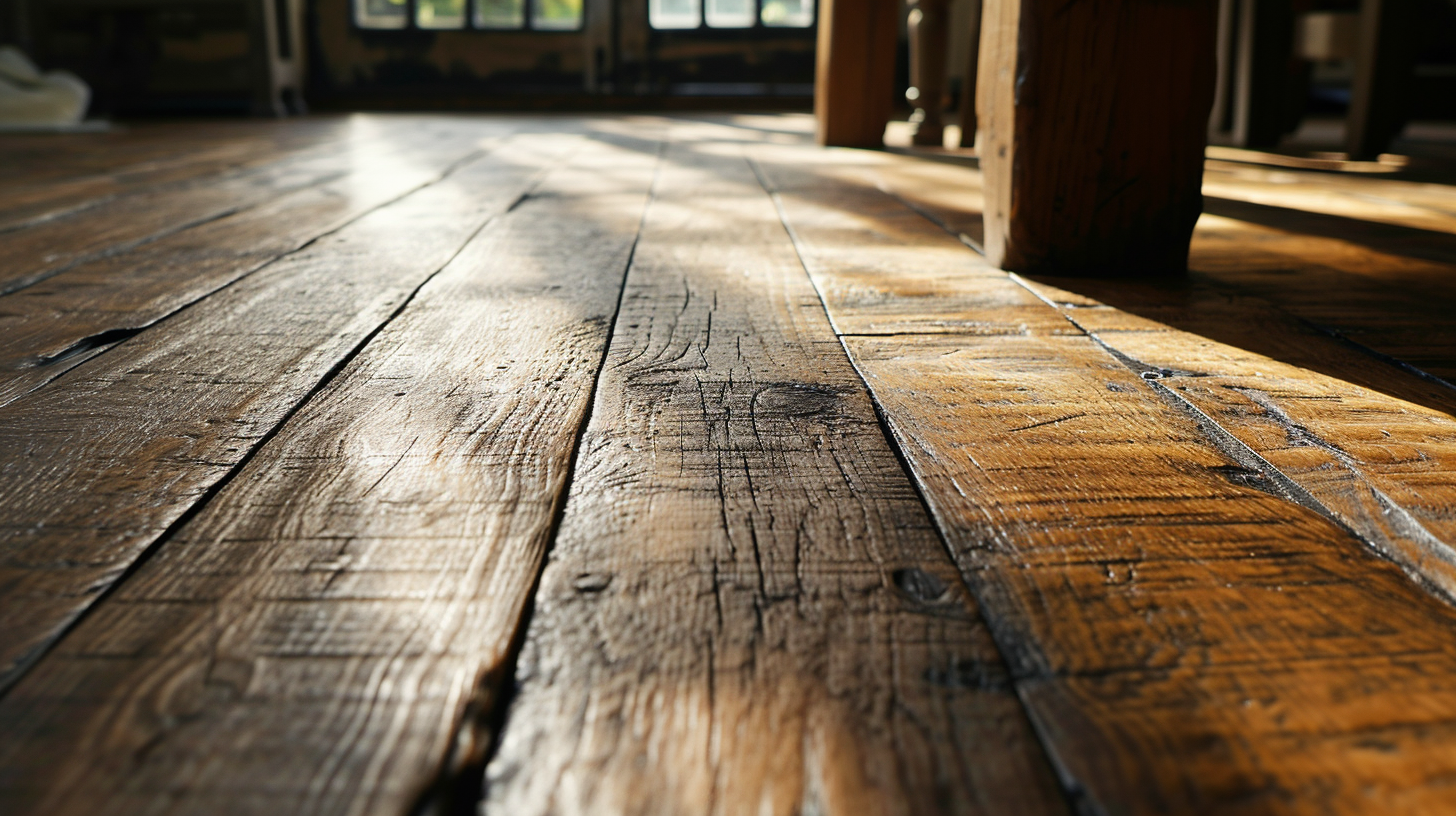
Before proceeding with any repairs, it is crucial to thoroughly assess the extent of the damage to the wood floor. Assessing the damage is the first step in determining the appropriate repair method. Start by examining the scratched area closely to determine the depth and width of the scratches. This will help in understanding the severity of the damage and the best course of action. Additionally, it is important to identify the type of wood used for the flooring as different types of wood may require different repair techniques. Once the damage has been assessed, the next step is to determine the repair method. This may include options such as sanding and refinishing, using wood fillers, or replacing individual boards. By accurately assessing the damage, one can effectively choose the most suitable repair method for restoring the wood floor to its original condition.
Gathering the Necessary Materials
Before beginning the repair process, it is crucial to gather all the necessary materials. This includes essential repair tools such as sandpaper, wood filler, and a putty knife. Additionally, choosing the right products for your specific wood floor is essential to ensure a successful repair. Lastly, proper surface preparation is key to achieving a smooth and seamless finish.
Essential Repair Tools
The essential repair tools needed for this project include a putty knife, sandpaper, and a wood filler. When it comes to repairing a scratched wood floor, having the right tools is crucial for achieving a professional-looking result. The putty knife is essential for removing any loose debris or old finish from the scratched area. Sandpaper is necessary to smooth out the scratched surface and prepare it for the wood filler. The wood filler is used to fill in the scratches and create a smooth, level surface.
When using these tools, it is important to employ essential repair techniques to ensure a successful outcome. One of the most common mistakes made during wood floor repair is failing to properly clean and prep the scratched area before applying the wood filler. This can result in a poor bond between the filler and the floor, leading to future problems. Another common mistake is using the wrong type of sandpaper or applying too much pressure during sanding, which can cause further damage to the wood. By utilizing the essential repair techniques and avoiding these common mistakes, one can effectively repair a scratched wood floor and restore its beauty.
Choosing the Right Products
I highly recommend considering your specific needs and preferences when choosing products for repairing scratched wood floors and applying a protective finish. When it comes to repairing scratched wood floors, there are various products available in the market. It is important to choose a product that matches the color and type of wood you are working with. Some products are specifically designed for shallow scratches, while others are better suited for deep gouges. Additionally, consider the level of expertise required to apply the product. For applying a protective finish on wood floors, it is crucial to select a product that provides durability and enhances the natural beauty of the wood. Look for products that offer resistance to scratches, stains, and wear. Follow proper techniques for application to achieve the desired results and ensure the longevity of your wood floors.
Proper Surface Preparation
To ensure successful repair of scratched wood floors, gather all the necessary materials for proper surface preparation, including sandpaper, wood filler, a putty knife, and a vacuum cleaner. Surface cleaning is crucial before attempting any repairs. Begin by thoroughly vacuuming the floor to remove any dirt or debris that could interfere with the repair process. Next, use a damp cloth or mop to wipe down the surface, removing any stains or spills that may have accumulated over time. Once the floor is clean and dry, carefully inspect the scratches to determine their depth and severity. This will help in selecting the appropriate sandpaper grit for sanding the affected area. Additionally, consider implementing scratch prevention measures, such as using furniture pads or rugs in high traffic areas, to minimize future damage to the wood floor.
Cleaning the Scratched Area
Applying a gentle cleaning solution to the scratched area will effectively remove any dirt and grime while also protecting the floor’s finish. When it comes to cleaning solutions for a scratched wood floor, it is important to choose a product that is specifically designed for wood surfaces. These cleaning solutions are gentle enough to not cause any further damage to the floor while effectively removing dirt and grime. Before applying the cleaning solution, it is recommended to test it on a small, inconspicuous area of the floor to ensure compatibility and avoid any potential discoloration or damage. Once the solution is applied, it can be gently scrubbed using a soft-bristle brush or a damp cloth. After cleaning, it is important to dry the area thoroughly to prevent any moisture damage. In some cases, buffing techniques can be used to further restore the floor’s appearance and blend the scratched area with the surrounding wood.
Filling in the Scratches
Using a wood filler and a putty knife, gently press the filler into the scratches and blend it seamlessly with the surrounding area. Repairing scratches on a wood floor is a common task that can be easily accomplished with the right tools and techniques. Wood fillers are specially designed to fill in scratches and other imperfections, providing a smooth and even surface. When applying the wood filler, it is important to ensure that it is evenly distributed and pressed firmly into the scratches. After the filler has been applied, use a putty knife to level the surface and remove any excess filler. Once the filler has dried, sand it down to achieve a seamless finish. This method allows for an effective and efficient scratch repair, restoring the beauty of your wood floor.
Sanding the Surface
When it comes to repairing a scratched wood floor, sanding the surface is an essential step in achieving a smooth and flawless finish. Proper sanding technique is crucial to ensure an even surface and remove any imperfections or rough patches. Additionally, choosing the right sandpaper grit is important to achieve the desired level of smoothness and avoid damaging the wood.
Proper Sanding Technique
Adequate preparation, including the use of a coarse-grit sandpaper to remove imperfections, is crucial to achieving a smooth and even wood surface during the proper sanding technique. When it comes to sanding tips, there are a few common mistakes that people often make. One of the most common mistakes is not using the right grit sandpaper for the job. It’s important to start with a coarse-grit sandpaper to remove any roughness or blemishes, and then gradually move to finer grits for a smoother finish. Another mistake is not sanding in the direction of the wood grain. Sanding against the grain can cause scratches and leave behind unsightly marks. It’s also important to avoid applying too much pressure while sanding, as this can result in uneven surfaces. By following these sanding tips and avoiding common mistakes, you can achieve a perfectly sanded wood surface.
Choosing the Right Sandpaper
Before starting the sanding process, it is crucial to carefully choose the right sandpaper, as it will determine the effectiveness and quality of the surface finish. When it comes to choosing the right sandpaper for repairing a scratched wood floor, there are two important factors to consider: the sandpaper grits and the sandpaper types. Sandpaper grits refer to the coarseness or fineness of the abrasive particles on the sandpaper. The higher the grit number, the finer the sandpaper. For repairing a scratched wood floor, it is recommended to start with a lower grit sandpaper, such as 60 or 80, to remove the deep scratches. Then, gradually move to higher grits, such as 120 or 150, to smoothen the surface. As for the sandpaper types, there are two main options: aluminum oxide and silicon carbide. Aluminum oxide sandpaper is commonly used for wood surfaces, as it is durable and provides a consistent finish. Silicon carbide sandpaper, on the other hand, is more suitable for harder surfaces, such as metal or concrete. By carefully selecting the appropriate sandpaper grits and types, you can ensure a successful wood floor repair and achieve a smooth and polished finish.
Staining the Wood
Applying a rich mahogany stain to the wood enhances its natural beauty and provides a seamless finish to the floor. When it comes to staining techniques, there are several options to consider. One popular method is using a brush to apply the stain, allowing for precise control over the color and coverage. Another technique is wiping on the stain with a cloth, which can create a more subtle and even finish. Additionally, there are a variety of color options available when it comes to wood stains. From light and natural tones to deep and dark shades, homeowners can choose a color that best complements their interior design. Whether you prefer a classic oak or a contemporary ebony, staining the wood is a great way to elevate the overall look and feel of your space.
Applying a Protective Finish
To ensure the longevity and durability of a wood floor, it is essential to apply a protective finish. The choice of the best protective finish depends on factors such as the type of wood and the desired level of sheen. Additionally, applying the finish requires proper techniques and attention to detail for a smooth and even application.
Best Protective Finish
The recommended method for achieving optimal protection for your wood floor is by employing a high-quality protective finish. When it comes to choosing the best protective finish for your wood floor, there are several factors to consider. Firstly, it is important to understand the different application methods available. Some finishes require multiple coats and specific drying times, while others can be applied with a simple brush or roller. Secondly, it is worth exploring alternative finish options. Traditional finishes such as polyurethane offer excellent protection, but newer options like water-based finishes or penetrating oils may provide different benefits such as faster drying times or a more natural look. Ultimately, the best protective finish for your wood floor will depend on your specific needs and preferences.
Application Techniques for Finish
One key aspect to consider when applying a protective finish to your wood floor is the number of coats required for optimal coverage and durability. It is important to apply the finish evenly to ensure a consistent appearance and to protect the wood from damage. The number of coats needed will depend on the type of finish used and the condition of the wood. In general, it is recommended to apply at least two coats of finish for adequate protection. However, some finishes may require additional coats for maximum durability. It is also important to allow sufficient drying time between each coat to ensure proper adhesion and to prevent any issues with the finish. Following the manufacturer’s instructions regarding drying time is crucial to achieve the best results.
Benefits of Protective Finish?
Applying multiple coats of protective finish to a wood floor offers numerous benefits, including enhanced durability, increased resistance to scratches and stains, and improved overall appearance. A protective finish acts as a shield, preventing moisture and dirt from seeping into the wood, thereby extending the lifespan of the floor. Additionally, different types of finishes provide different levels of protection and aesthetics. For instance, polyurethane finishes are known for their durability and ability to withstand heavy foot traffic, while wax finishes offer a more natural and matte look. Oil-based finishes, on the other hand, provide excellent protection against water damage and are ideal for areas prone to spills. With the wide variety of finishes available, homeowners can choose the one that best suits their needs and preferences. Ultimately, investing in a protective finish is a wise decision that not only enhances the beauty of the wood floor but also ensures its longevity.
Buffing and Polishing
In order to achieve a smooth and glossy finish on a scratched wood floor, it is essential to properly prepare the surface by buffing and polishing with a high-quality floor buffer. Buffing techniques involve using a floor buffer equipped with a buffing pad to remove any scratches or imperfections on the surface of the wood. The buffer should be operated in a slow and controlled manner, moving in straight lines across the floor. Polishing products, such as wood floor polish, can then be applied to further enhance the shine and protection of the wood. These products should be carefully selected to ensure compatibility with the type of wood and finish on the floor. By utilizing proper buffing techniques and high-quality polishing products, a scratched wood floor can be restored to its former beauty and luster.
Maintaining the Repaired Floor
How frequently should the repaired wood floor be inspected for any signs of wear and tear? When it comes to maintaining the finish and preventing future scratches on a repaired wood floor, regular inspections are crucial. It is recommended to inspect the floor at least once a month for any signs of wear and tear. This will help to catch any potential issues early on and allow for prompt repairs. During the inspection, it is important to pay attention to high-traffic areas and areas prone to scratches, such as near entryways and furniture. Additionally, it is essential to implement preventive measures, such as placing rugs or mats in these areas to minimize the risk of scratches. By regularly inspecting the repaired wood floor and taking preventive actions, the finish can be maintained and future scratches can be prevented.
Troubleshooting and Tips
While troubleshooting a scratched wood floor, it is important to consider practical tips to effectively address the issue. One of the first steps in troubleshooting is surface preparation. Before attempting any repairs, it is crucial to clean the scratched area thoroughly, removing any dirt or debris that may be present. This will ensure a smooth and even surface for the repair process. Another important aspect to consider is the use of protective finish techniques. Applying a protective finish to the repaired area will not only restore the appearance of the floor but also provide a layer of protection against future damage. There are various protective finish techniques available, such as using polyurethane or varnish, which can help to strengthen and enhance the durability of the wood floor. By following these practical tips, one can effectively troubleshoot and repair a scratched wood floor.
