Last Updated on 26th December 2023
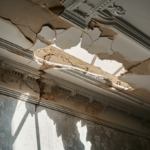
Water damage is a common issue that can wreak havoc on ceilings, compromising their structural integrity and aesthetic appeal. In this concise guide, we will outline the steps to effectively repair a water-damaged ceiling, from assessing the extent of the damage to the final touches of painting and finishing. By following these professional techniques, you will be equipped with the knowledge and skills necessary to restore your ceiling to its former glory.
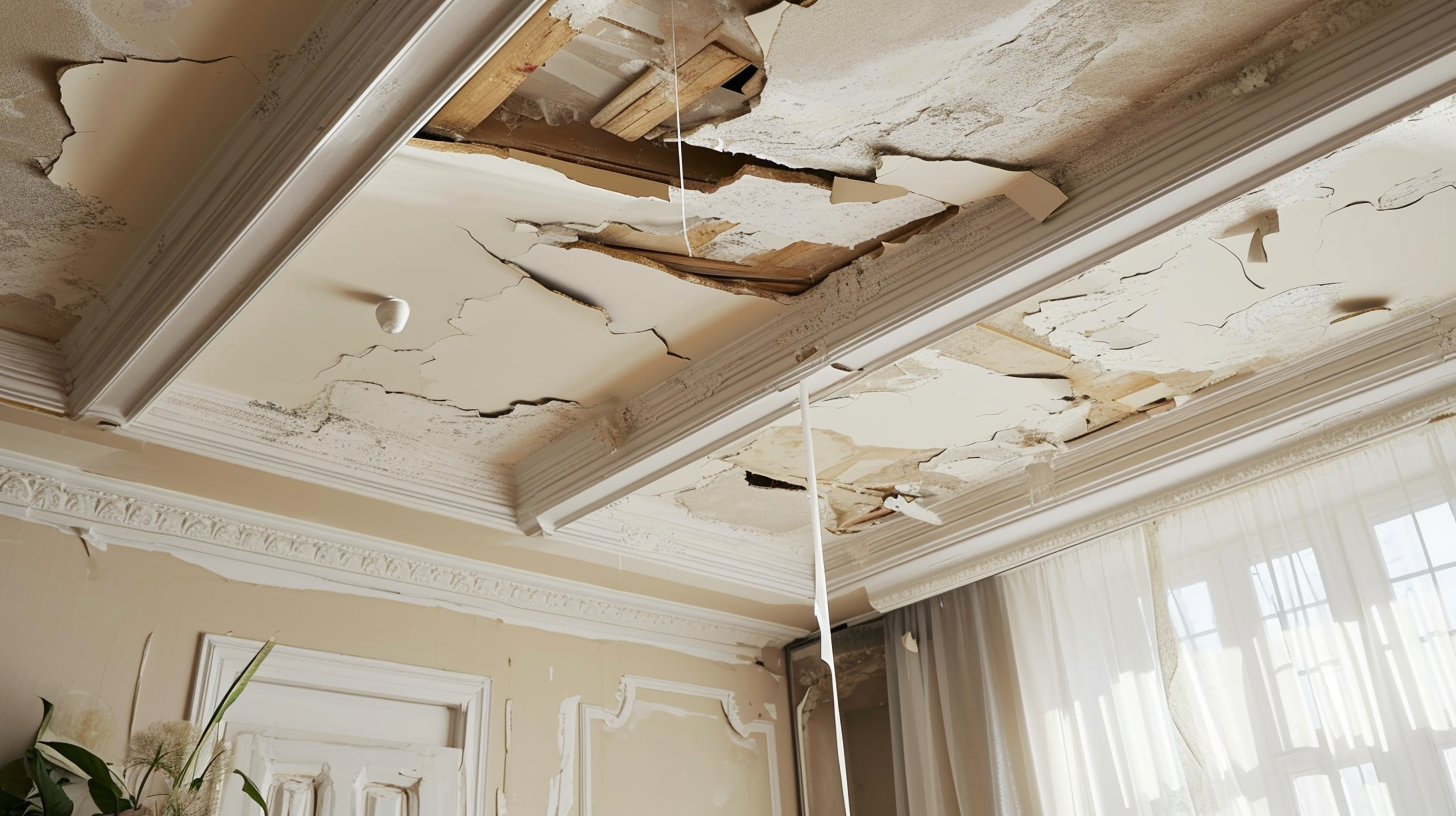
Assessing the Damage
In order to propose an effective solution for restoring the water-damaged ceiling, a thorough and meticulous assessment of the extent of the damage is imperative. This assessment should be conducted by a professional who can accurately evaluate the insurance coverage required for the repairs. A professional assessment will determine the cause of the damage, identify any hidden water sources, and assess the structural integrity of the ceiling. This step is crucial for determining the scope of the restoration work needed and providing an accurate estimate of the costs involved. Insurance coverage plays a vital role in the repair process, as the assessment will provide the necessary documentation for filing a claim. By having a professional assess the damage, homeowners can ensure that all necessary repairs are addressed, minimizing the risk of further issues and maximizing the coverage provided by their insurance policy.
Removing the Damaged Materials
Once the assessment of the water-damaged ceiling is complete, it is essential to promptly remove the damaged materials in order to prevent further deterioration and facilitate the restoration process. This step is crucial as it allows for a thorough examination of the extent of the damage and ensures that the repairing techniques can be efficiently implemented. Safety precautions should be taken during the removal process to minimize the risk of accidents or injuries. It is important to wear protective gear such as gloves, goggles, and masks to prevent exposure to harmful substances, including mold or asbestos. Additionally, proper tools and equipment should be used to carefully detach and dispose of the damaged materials. Following these safety measures and employing appropriate repairing techniques will contribute to a successful restoration of the water-damaged ceiling.
Drying and Dehumidifying the Area
To expedite the restoration process and prevent the growth of mold or further damage, it is crucial to thoroughly dry and dehumidify the area affected by water damage. Water damage can be a major problem for homeowners, as it can lead to structural issues and health hazards if not addressed promptly and effectively. By hiring professional restoration services, homeowners can ensure that the affected area is properly dried and dehumidified. Professionals have the necessary equipment and expertise to remove excess moisture from the air and surfaces, preventing the growth of mold and minimizing the risk of further damage. Additionally, they can provide guidance on preventing future water damage, such as regular maintenance of plumbing systems and proper insulation. Taking these proactive measures can save homeowners from costly repairs and potential health issues down the line.
Repairing and Patching the Ceiling
The professional contractor assessed the extent of the water damage and recommended a comprehensive plan for repairing and patching the ceiling. After removing all the damaged drywall, the contractor proceeded with the drywall replacement process. This involved measuring and cutting new drywall panels to fit the affected areas. The new drywall was then securely fastened to the ceiling joists using drywall screws. Once the drywall was in place, the contractor focused on water stain removal. This involved treating the stains with a mixture of water and bleach to effectively eliminate any discoloration. After allowing the bleach solution to sit for a few minutes, the contractor gently scrubbed the stains using a soft brush. Finally, the contractor applied a primer and paint to seamlessly blend the repaired areas with the rest of the ceiling.
Painting and Finishing Touches
In addition to applying a fresh coat of paint, the contractor meticulously inspected the repaired areas for any imperfections, ensuring that all finishing touches were completed to the highest standard. Choosing the right paint color is an important aspect of any painting project. The color should complement the overall design and style of the space. It is essential to consider factors such as lighting, furniture, and wall color when making this decision. Once the paint color has been chosen, the next step is to apply a smooth finish. This can be achieved by using high-quality brushes or rollers and applying the paint in even strokes. It is also important to allow each coat to dry completely before applying the next one. A smooth finish not only enhances the aesthetic appeal but also provides a durable and long-lasting result.