Last Updated on 26th December 2023
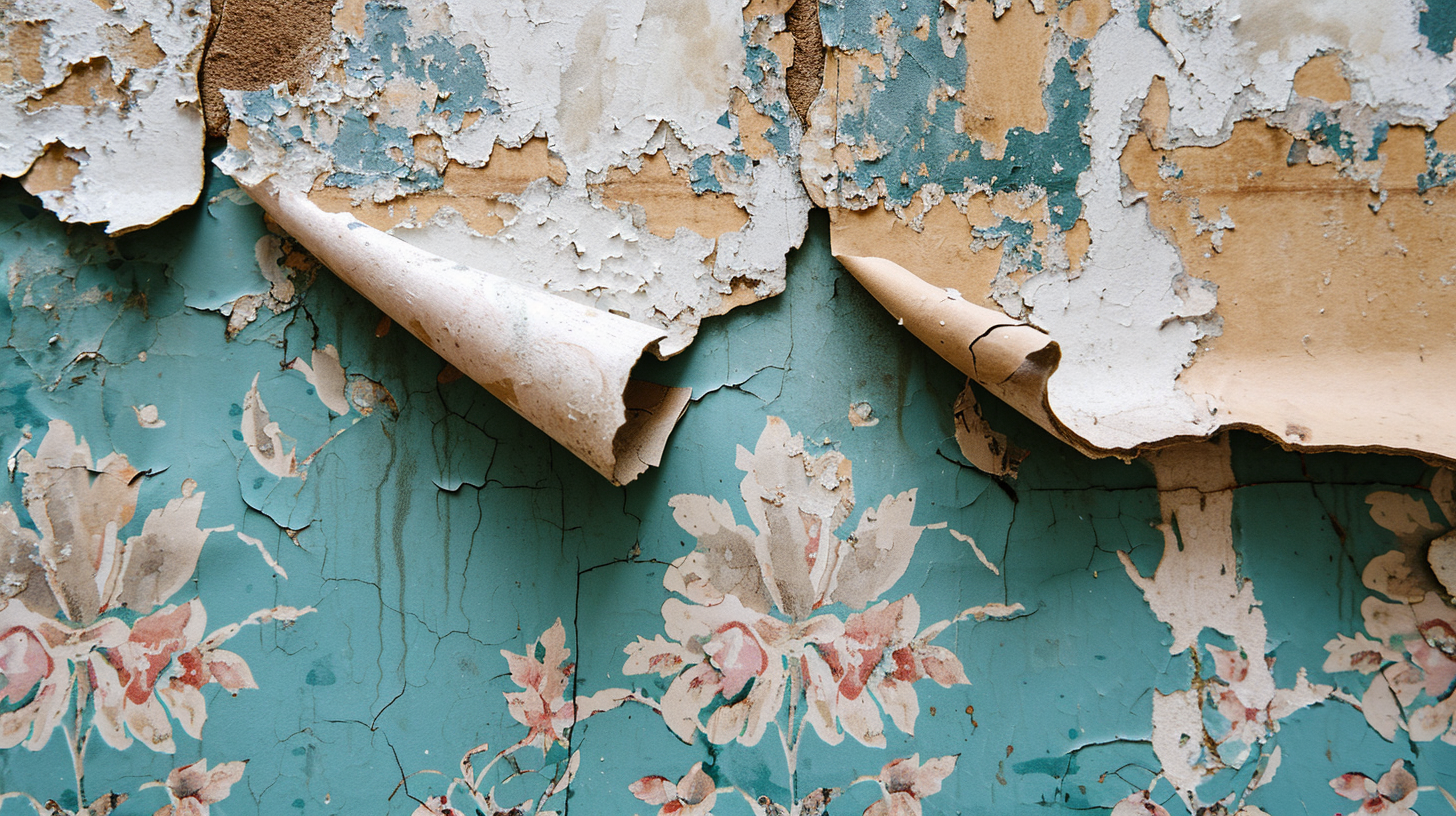
In this comprehensive guide, we will explore the essential steps to effectively repair peeling wallpaper. Whether you are a homeowner or a professional in the field, understanding how to assess the damage, prepare the surface, select the appropriate adhesive, and reattach the wallpaper is crucial for a successful restoration. With our expert advice and practical tips, you will be equipped to tackle this common issue with confidence, ensuring a seamless and durable finish.
Assessing the Damage
Regularly assessing the extent of the damage caused by peeling wallpaper is crucial in determining the appropriate repair methods. When evaluating the extent of the damage, it is important to carefully inspect the affected area. Look for any signs of peeling, such as loose or lifted edges, bubbles, or wrinkles. Take note of the size and location of the peeling sections. Identifying the cause of the peeling is equally important in order to address the underlying issue. Common causes of peeling wallpaper include moisture, improper installation, or age. Moisture can cause the adhesive to weaken and the wallpaper to detach from the wall. Improper installation, such as inadequate priming or failure to remove old wallpaper, can also lead to peeling. By thoroughly evaluating the extent of the damage and identifying the cause, you can determine the best course of action to repair peeling wallpaper effectively.
Preparing the Surface
To ensure a smooth and durable finish, it is important to thoroughly clean and prime the wall surface before applying any new wallpaper. Preparing the surface is a crucial step in the wallpapering process, as it helps the wallpaper adhere properly and ensures a long-lasting result. Start by removing any existing wallpaper or loose paint from the wall. Use a wallpaper steamer or a solution of warm water and wallpaper remover to soften the old wallpaper and scrape it off using a putty knife. Once the wall is clean and free from any debris, inspect it for any small tears or imperfections. Repair these areas by applying a thin layer of joint compound and smoothing it out with a putty knife. Allow the compound to dry completely before sanding the surface smooth. Finally, apply a primer to create a smooth and even base for the new wallpaper.
Choosing the Right Adhesive
The success of a wallpaper repair project hinges on choosing the right adhesive and applying it correctly. When it comes to repairing peeling wallpaper, there are different types of adhesives to consider. One option is adhesive paste, which has both pros and cons.
Adhesive paste is a common choice for wallpaper repair as it provides strong adhesion and helps to secure the wallpaper in place. It is easy to work with and spreads smoothly onto the surface. However, there are some drawbacks to using adhesive paste. It can be messy and time-consuming to prepare, requiring mixing with water and allowing it to set for a specific amount of time. Additionally, adhesive paste can have a strong odor, which may be unpleasant for some individuals.
Overall, while adhesive paste offers strong adhesion, it is essential to weigh the pros and cons before deciding on the right adhesive for your wallpaper repair project.
Applying the Adhesive
Applying the adhesive accurately and evenly is crucial for ensuring a secure and long-lasting bond between the wallpaper and the wall surface. When it comes to applying adhesive, there are a few techniques and tips that can help you achieve the best results. Firstly, make sure to choose the right adhesive for your specific type of wallpaper and wall surface. This will ensure compatibility and a stronger bond. Secondly, follow the manufacturer’s instructions carefully, as different adhesives may have specific application requirements. It is also important to apply the adhesive evenly, using a brush or roller, to avoid lumps or uneven drying. Additionally, avoid applying too much adhesive, as it can cause the wallpaper to bubble or warp. Finally, be patient and allow the adhesive to dry completely before hanging the wallpaper. Avoiding these common mistakes will help you achieve a professional-looking finish and ensure the longevity of your wallpaper installation.
Reattaching the Wallpaper
After properly preparing the wall surface, carefully align the wallpaper with the edge of the wall, using a smoothing brush and coordinating adhesive to reattach it securely in place. Repairing peeling wallpaper is a common household task that can be easily accomplished with the right technique. The first step is to identify the cause of the peeling, which could be due to improper installation, moisture damage, or aging adhesive. Once the cause is determined, it is important to address the underlying issue before reattaching the wallpaper. This may involve fixing any water leaks or applying a primer to seal the wall surface. When reattaching the wallpaper, it is crucial to apply the adhesive evenly and smoothly to prevent future peeling. By following these steps, homeowners can successfully repair peeling wallpaper and prevent further damage.
Finishing Touches and Maintenance
Furthermore, regularly inspecting the wallpaper for any signs of wear and tear, and promptly addressing any issues that arise, is essential for maintaining its overall appearance and longevity. In addition to repairing peeling wallpaper, it is important to implement cleaning techniques and take preventative measures to prevent future damage. Cleaning wallpaper should be done with caution, using non-abrasive and non-chemical cleaning solutions to avoid discoloration or damage. Regular dusting with a soft cloth or brush can help remove dirt and debris that can accumulate over time. Preventing future damage involves keeping the room well-ventilated to reduce moisture, as moisture can cause wallpaper to peel. Additionally, avoiding hanging heavy objects on the walls and using wallpaper-friendly adhesives during installation can help prolong the lifespan of the wallpaper. By implementing these cleaning techniques and preventative measures, you can ensure that your wallpaper remains in good condition for years to come.